|
|
IMG_7015
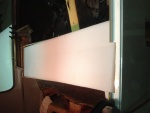
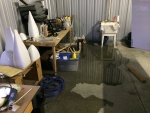
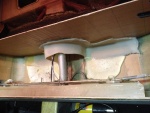
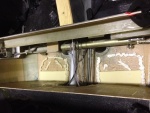
Finally, the new tank is in place. More or less.
Date: 10/23/2013
Views: 4198
|
|
|
IMG_6984
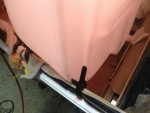
But there's no way to get it in. It is too wide to go between the door sills.
Date: 10/21/2013
Views: 4225
|
|
|
|
IMG_6978
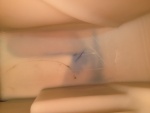
The crack as viewed from the top side.
Date: 10/19/2013
Views: 4010
|
|
|
IMG_7324
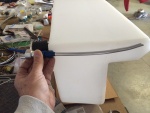
Checking the back. Looks like a good fit overall.
Date: 02/17/2014
Views: 5812
|
|
|
|
IMG_6973
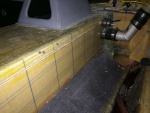
In this view fore is down, aft is up, port to the right and starboard to the left.
Date: 10/18/2013
Views: 3792
|
|
|
IMG_7535
Then we had a bit of drama as the sink developed a leak in the feed line.
Date: 03/20/2014
Views: 4960
|
|
|
|
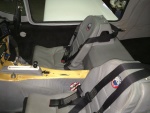
IMG_6989
In addition, the aileron tie rod between the sticks is in the way and will have to come out.
Date: 10/21/2013
Views: 5446
|
|
|
IMG_7770
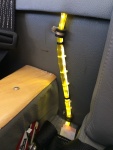
Calibrated sight gage with LED illumination. This really does help identify the fuel level. FYI: 6 gal to the bottom of the lower P-Clip, 7 gal to the top of the P-Clip, 8 gal to the 1st white tie, 9 gal to the 2nd tie, 10 gal to the 1st black tie, 12 g
Date: 05/18/2014
Views: 4557
|
|
|
|
IMG_6843
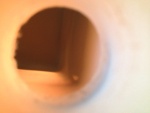
Back from KOSH, I get out my video snake and try to run it down into the tank to find the leak.
Date: 10/01/2013
Views: 3868
|
|
|
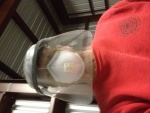
IMG_7768
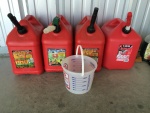
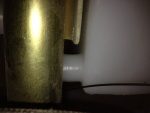
There's 18 gallons of AvGas in those 4 5-gallon gas cans.
Date: 05/18/2014
Views: 4688
|
|
|
|
IMG_7282
Two venting outlets.
Date: 02/13/2014
Views: 4499
|
|
|
IMG_6855
But I can't get it past the entrance to the tank. Looks like I'll have to tear into things.
Date: 10/01/2013
Views: 4183
|
|
|
|
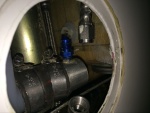
IMG_7004
Here you see that the fuel outlets won't go past the pitch connection rod between the sticks. And this can not be removed to be replaced at a later date. The outlets have to be trimmed back by about 1/4 in (6.4 mm).
Date: 10/22/2013
Views: 4983
|
|
|
IMG_6977
The white stuff you see is low-expansion foam that was squirted in to provide support so this wouldn't happen. Unfortunately, I could not get foam under the port side sufficiently to support that side. That's where the crack developed.
Date: 10/19/2013
Views: 4126
|
|
|
|
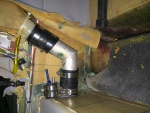
IMG_7281
This picture illustrates how the new vent will be installed to obtain the best venting possible within the limits of the tank.
Date: 02/13/2014
Views: 4623
|
|
|
IMG_7313
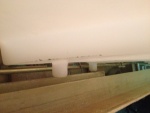
The filler neck and vent installed in the tank.
Date: 02/17/2014
Views: 4592
|
|
|
|
IMG_6966
Selfie of the protective gear needed. There was a LOT of fiberglass dust flying during the cutting.
Date: 10/17/2013
Views: 3911
|
|
|
IMG_7738
Everything pretty much back together. Eight months work at this point.
Date: 05/10/2014
Views: 7465
|
|
|
|
IMG_7315
The starboard side outlet installed. Fuel outlet to the fuel selector is on the port side and fuel return from the engine is on the starboard side.
Date: 02/17/2014
Views: 4519
|
|
|
IMG_7029
Supporting material in the form of rigid polyurethane sheet and micro/epoxy mix are laid out on the bottom of the fuselage.
Date: 10/31/2013
Views: 3880
|
|