|
|
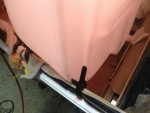
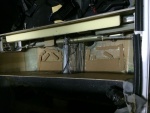
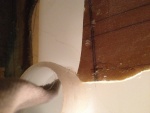
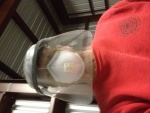
IMG_6984
But there's no way to get it in. It is too wide to go between the door sills.
Date: 10/21/2013
Views: 4283
|
|
|
IMG_6962
The cut on the front side
Date: 10/17/2013
Views: 4183
|
|
|
|
IMG_6973
In this view fore is down, aft is up, port to the right and starboard to the left.
Date: 10/18/2013
Views: 3835
|
|
|
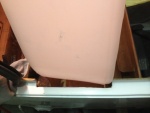
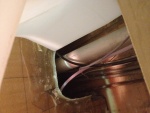
IMG_6995
The cutout in the passenger door sill now allows entry of the tank.
Date: 10/21/2013
Views: 6115
|
|
|
|
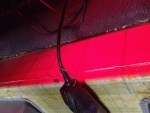
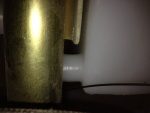
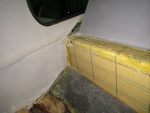
IMG_6956 1
With the tank removed, the micro and urethane could be covered with cork. The cork serves to protect the tank from abrasion by the support materials. You can also see the strip of urethane applied to the top of the aluminum support for the tank ledge.
Date: 11/10/2013
Views: 4388
|
|
|
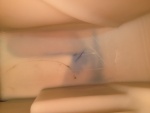
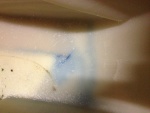
IMG_6972
Standing on the port side looking down into the tank. The leak is that blue line with the lighter blue background.
Date: 10/18/2013
Views: 3565
|
|
|
|
IMG_7285
The new sight gage running up the back rest. 2 P-clips hold it in place. The new sight gage is also back lit with a strip of LED lights.
Date: 02/13/2014
Views: 4040
|
|
|
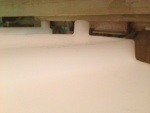
IMG_7015
Finally, the new tank is in place. More or less.
Date: 10/23/2013
Views: 4257
|
|
|
|
IMG_7014
Next catch was where the filler needed to go into its' position. There was a piece blocking which had to be removed.
Date: 10/23/2013
Views: 5560
|
|
|
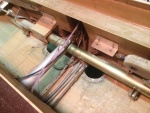
IMG_7004
Here you see that the fuel outlets won't go past the pitch connection rod between the sticks. And this can not be removed to be replaced at a later date. The outlets have to be trimmed back by about 1/4 in (6.4 mm).
Date: 10/22/2013
Views: 5038
|
|
|
|
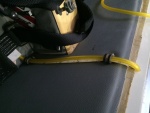
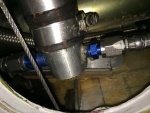
IMG_7356
The starboard side outlet with all fuel lines connected.
Date: 02/19/2014
Views: 3920
|
|
|
IMG_6971
The top of the old tank exposed. At this point the rotary tool was used to attack the old tank.
Date: 10/18/2013
Views: 3814
|
|
|
|
IMG_6966
Selfie of the protective gear needed. There was a LOT of fiberglass dust flying during the cutting.
Date: 10/17/2013
Views: 3960
|
|
|
IMG_7322
Checking the back.
Date: 02/17/2014
Views: 5330
|
|
|
|
IMG_6991
Finally, that fore-aft support piece is also in the way and will have to come out.
Date: 10/21/2013
Views: 4439
|
|
|
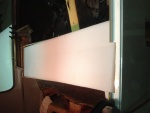
IMG_7735
Not as nice as it was but still not looking too shabby.
Date: 05/10/2014
Views: 4975
|
|
|
|
IMG_6996
You also have to make sure you clear all the cables, plumbing and wiring in the "tunnel" area.
Date: 10/21/2013
Views: 4433
|
|
|
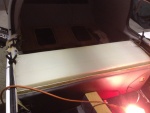
IMG_7233
2-ply fiberglass strips were made up to be bonded to the inside of the unit. These strips went on all 4 sides. Here the strip is being bonded to the aft wall.
Date: 01/26/2014
Views: 5197
|
|
|
|
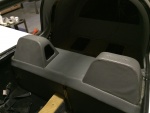
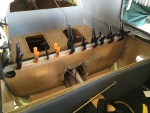
IMG_7005
The space with the aileron tie rod and starboard side support removed.
Date: 10/22/2013
Views: 4335
|
|
|
IMG_6973_em_sa
Here I have annotated the important elements. The red outlines the fiberglass support bonded to the bottom of the tank. Blue arrow points to the blue crack. The crack formed exactly as a stress analysis says it should, at 45º to the corner of that supp
Date: 10/18/2013
Views: 3349
|
|