|
|
dsc09047
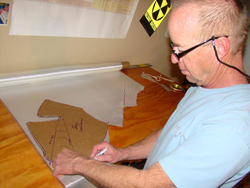
I took cardboard and bent it around the socket and overlapped per the manual. Then took this cardboard and made a new template for cutouts. This made the layups go really quick.
Date: 01/23/2013
Views: 8724
|
|
|
dsc08963
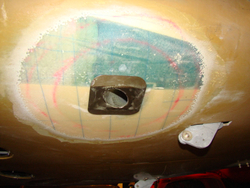
Port side. LG socket fitting.
Date: 10/01/2012
Views: 9883
|
|
|
|
dsc09060
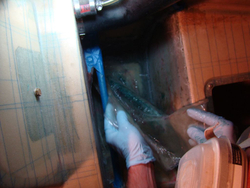
Wetting out stbd side.
Date: 01/24/2013
Views: 8553
|
|
|
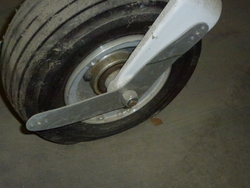
dsc08399
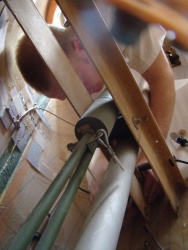
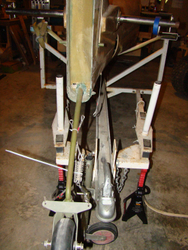
Atempting to remove the mass ballance brace but to only find out later that it is bonded at the top.
Date: 03/25/2012
Views: 9380
|
|
|
|
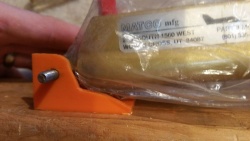
p1000471
p1000471.jpg
Date: 12/13/2011
Views: 11912
|
|
|
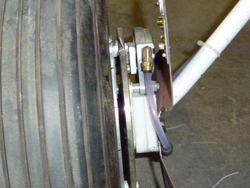
dsc09040
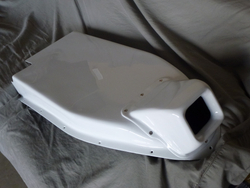
The gap from the bottom of the socket and the belly is as you see. The only way to get it all the way down was to lower the belly to 15" which was not considered an option. Belly hight is 16.0" with the axle width at 82.50" and axle cent
Date: 01/23/2013
Views: 9531
|
|
|
|
nex_2014_01_25_28
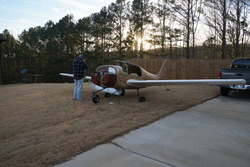
Wings on. Not really required at the stage. Just had to do it for motivation.
Date: 01/26/2014
Views: 7874
|
|
|
dsc09039
Port side done after cure.
Date: 01/23/2013
Views: 8820
|
|
|
|
p1000698
p1000698.jpg
Date: 03/12/2012
Views: 6991
|
|
|
dsc09038
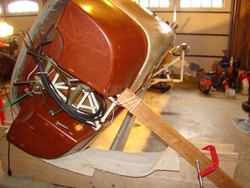
To make our backs happy and life 1000% easier we tilted the fuselage. Notice I used my monowheel trailer as a jig. A tow strap 4" wide was used in the rear to hold the tail. This was rock solid.
Date: 01/23/2013
Views: 9153
|
|
|
|
dsc09041
Port side guides being placed for layup.
Date: 01/23/2013
Views: 8830
|
|
|
dsc08642
From the start the airframe was sitting 2.5 deg tail low and 0.1 deg to port. Not bad for just putting her on there. I jacked up the back of the trailer to get it as near to 0.0 as possible and also shifted the airframe latterly to turn that .1 to 0.0 a
Date: 04/15/2012
Views: 11464
|
|
|
|
p1000729
p1000729.jpg
Date: 03/12/2012
Views: 6220
|
|
|
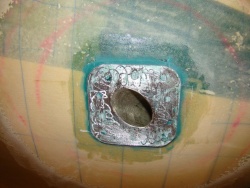
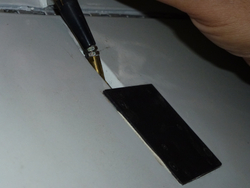
Close up of the relief cut.
Close up of the relief cut.
Date: 04/03/2016
Views: 13851
|
|
|
|
p1000725
p1000725.jpg
Date: 03/12/2012
Views: 6768
|
|
|
dsc09023
Ensure you have a good key. I used the drill press to create the dimples. These will be filled with 420 and flox when doing the glass layups.
Date: 01/22/2013
Views: 8782
|
|
|
|
dsc09066
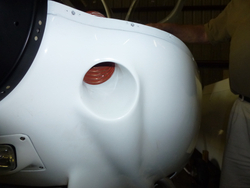
Port side peel ply removed. Oh notice the caps in the sockets. What I did was take a block of foam and push it down in the socket, then took it back out and covered it with car wax. Once all the ribs are in I'll see how it worked.
Date: 01/25/2013
Views: 8773
|
|
|
p1000689
p1000689.jpg
Date: 03/12/2012
Views: 6856
|
|
|
|
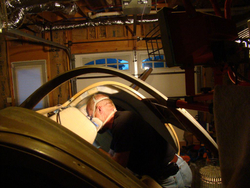
dsc09072
Here is a shot of the working angle. This was so much better than leaning over the edge. Kim's idea. Notice the heater behind Kim, this was key to keeping the temps even though the temps outside were in the 40's.
Date: 01/26/2013
Views: 8708
|
|
|
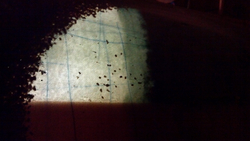
2012-08-18_19-58-42_666
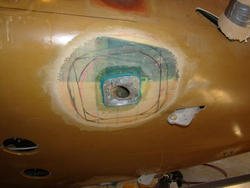
Port side. Same area as before just without the flash. Backlit from the inside to show areas with less material. This is before I did the belly layup per the manual.
Date: 08/19/2012
Views: 11613
|
|