|
|
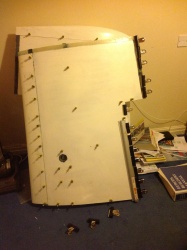
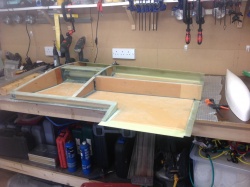
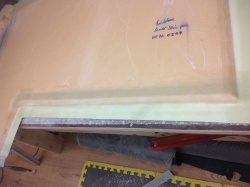
IMG_0412
Date: 04/17/2015
Views: 9754
|
|
|
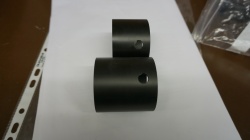
DSC00155
As you can see the Issue 1 Bearings are considerably longer and will require shortening once I have the correct dimensions.
Date: 09/03/2015
Views: 8245
|
|
|
|
DSC00158
Date: 09/03/2015
Views: 13765
|
|
|
IMG_0340[1]
cloth cabinet installed.
Date: 09/04/2014
Views: 14796
|
|
|
|
IMG_0189[1]
Date: 04/13/2014
Views: 12617
|
|
|
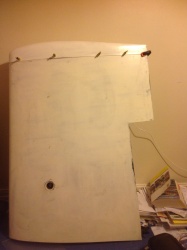
IMG_0417
Date: 04/22/2015
Views: 9765
|
|
|
|
IMG_0390
Date: 04/10/2015
Views: 8935
|
|
|
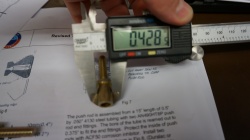
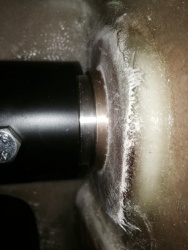
DSC00157
Instructions state that rod should be reamed to 0.375" but it needed to be reamed out 0.428" to fit push rod.
Date: 09/03/2015
Views: 9346
|
|
|
|
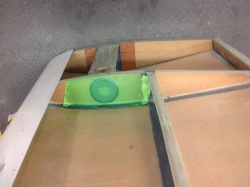
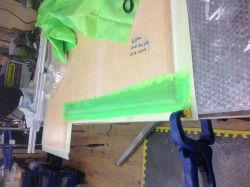
DSC00219
bracket installed
Date: 09/09/2015
Views: 11189
|
|
|
IMG_0404
Date: 04/17/2015
Views: 10103
|
|
|
|
IMG_0406
Date: 04/17/2015
Views: 9373
|
|
|
IMG_0823
Same of port side.
Date: 09/03/2015
Views: 8119
|
|
|
|
IMG_0400
Date: 04/14/2015
Views: 9719
|
|
|
IMG_0251
Kit safely in Storage.
Date: 02/01/2014
Views: 9672
|
|
|
|
IMG_0414
Date: 04/18/2015
Views: 10810
|
|
|
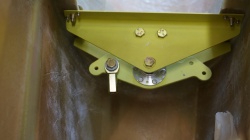
DSC00212
Marking position for bracket on rear bulk head
Date: 09/08/2015
Views: 13806
|
|
|
|
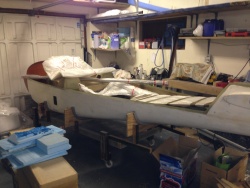
DSC00229
Still some work to do but happy so far.
Date: 09/10/2015
Views: 13901
|
|
|
IMG_0410
Date: 04/17/2015
Views: 11192
|
|
|
|
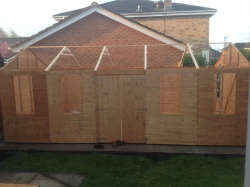
Ipad 041
Shed Under construction
Date: 03/27/2014
Views: 9299
|
|
|
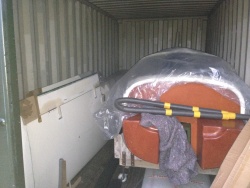
IMG_0229
At Steve's workshop packing the kit ready for transportation
Date: 01/31/2014
Views: 9741
|
|


![IMG_0340[1]](d/759513-4/IMG_0340_1_.JPG)
![IMG_0189[1]](d/759483-4/IMG_0189_1_.JPG)