|
|
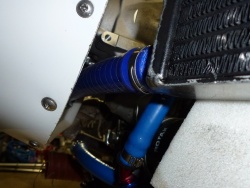
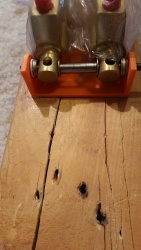
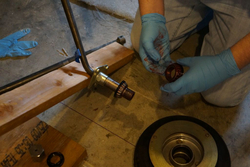
p1000470
p1000470.jpg
Date: 12/09/2011
Views: 11992
|
|
|
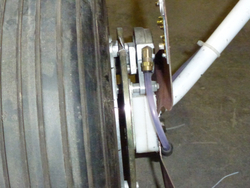
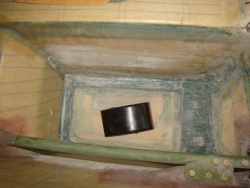
p1000689
p1000689.jpg
Date: 03/12/2012
Views: 7056
|
|
|
|
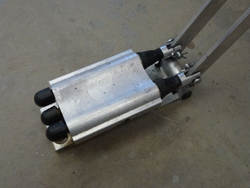
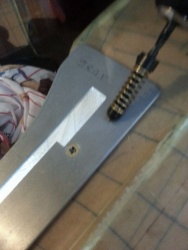
p1000637
p1000637.jpg
Date: 02/14/2012
Views: 6710
|
|
|
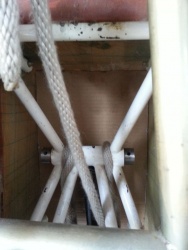
20141102_162118
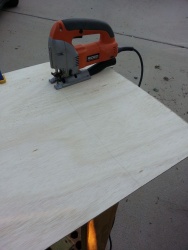
Cut it out.
Date: 11/02/2014
Views: 74802
|
|
|
|
This is the printer part showing the parts in place.
This is the printer part showing the parts in place.
Date: 04/03/2016
Views: 13915
|
|
|
dsc09052
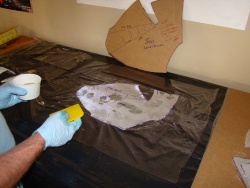
Wetting out stbd side.
Date: 01/24/2013
Views: 9501
|
|
|
|
dsc09076
Bottom layup of the port side.
Date: 01/26/2013
Views: 9225
|
|
|
dsc08640
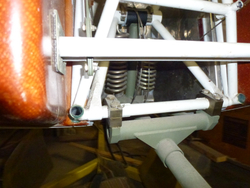
OK not the best shot but here you can see I used the jack to move the rear rib in place under the airframe being careful not to pinch the belly. I then secured the rib in place but using some drywall screws in the 2x6. This way any weight will be transf
Date: 04/15/2012
Views: 9139
|
|
|
|
nex_2014_01_12_04
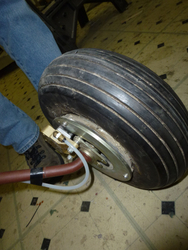
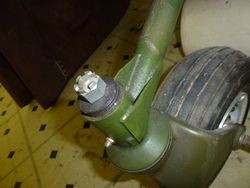
Port LG in place with bolt in.
Date: 01/13/2014
Views: 7951
|
|
|
p1000687
p1000687.jpg
Date: 03/12/2012
Views: 6982
|
|
|
|
p1000615
p1000615.jpg
Date: 01/29/2012
Views: 10051
|
|
|
p1000723
p1000723.jpg
Date: 03/12/2012
Views: 6942
|
|
|
|
nex_2014_01_25_32
nex_2014_01_25_32.jpg
Date: 01/26/2014
Views: 10298
|
|
|
p1000703
p1000703.jpg
Date: 03/12/2012
Views: 6142
|
|
|
|
nex_2014_01_25_03
Port side dirty work. Just test fitting final install with all hardware will be after the legs are painted.
Date: 01/25/2014
Views: 8437
|
|
|
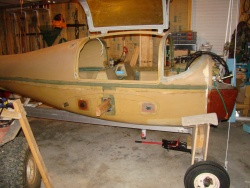
dsc08607
Starting to prep the bays for the tri-gear conversion.
Date: 04/10/2012
Views: 10650
|
|
|
|
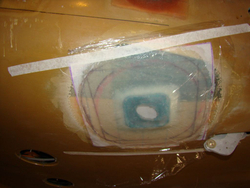
20141102_152814
Drilling out the screw. It would move. I'm removing this plate to patch later.
Date: 11/02/2014
Views: 12247
|
|
|
20141102_161049
20141102_161049.jpg
Date: 11/02/2014
Views: 15856
|
|
|
|
dsc09023
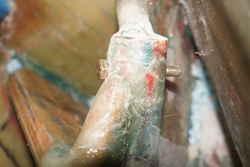
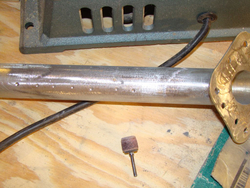
Ensure you have a good key. I used the drill press to create the dimples. These will be filled with 420 and flox when doing the glass layups.
Date: 01/22/2013
Views: 9547
|
|
|
p1000705
p1000705.jpg
Date: 03/12/2012
Views: 6237
|
|