|
|
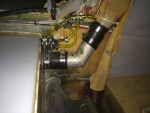
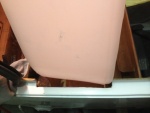
IMG_7373
The vent system with all vent lines from the fuel sight gage and tank vents connected to the aircraft filler vent system.
Date: 02/22/2014
Views: 5427
|
|
|
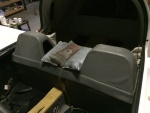
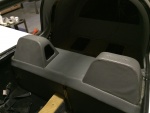
IMG_7730
Returned the upholstery on to the back.
Date: 05/09/2014
Views: 6758
|
|
|
|
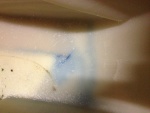
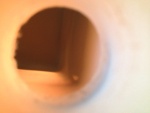
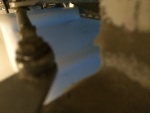
IMG_6972
Standing on the port side looking down into the tank. The leak is that blue line with the lighter blue background.
Date: 10/18/2013
Views: 4565
|
|
|
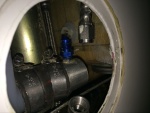
IMG_7384
Starboard side fuel outlet. No leaks here
Date: 02/23/2014
Views: 4466
|
|
|
|
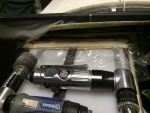
IMG_6855
But I can't get it past the entrance to the tank. Looks like I'll have to tear into things.
Date: 10/01/2013
Views: 5180
|
|
|
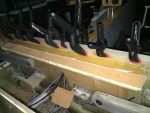
IMG_7233
2-ply fiberglass strips were made up to be bonded to the inside of the unit. These strips went on all 4 sides. Here the strip is being bonded to the aft wall.
Date: 01/26/2014
Views: 6317
|
|
|
|
IMG_7383
Port fuel outlet . There was one small leak on the outlet to the fuel selector. I had wrenches ready, just in case, so it was easy to tighten that last bit to end the leak.
Date: 02/23/2014
Views: 4682
|
|
|
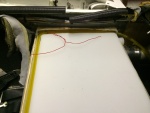
IMG_7735
Not as nice as it was but still not looking too shabby.
Date: 05/10/2014
Views: 6188
|
|
|
|
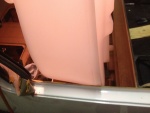
IMG_7365
Getting the sight gage plumbing in place.
Date: 02/22/2014
Views: 6688
|
|
|
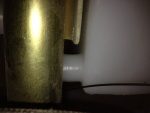
IMG_7382
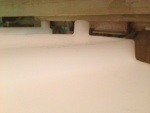
Blue fuel in the tank.
Date: 02/23/2014
Views: 4980
|
|
|
|
IMG_7366
Applying the fiberglass/epoxy strips to the port side. Plastic wrap to prevent the epoxy from bonding to the tools used to hold the strip in place.
Date: 02/22/2014
Views: 6371
|
|
|
IMG_7315
The starboard side outlet installed. Fuel outlet to the fuel selector is on the port side and fuel return from the engine is on the starboard side.
Date: 02/17/2014
Views: 5584
|
|
|
|
IMG_7282
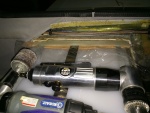
Two venting outlets.
Date: 02/13/2014
Views: 5547
|
|
|
IMG_7235
A strip being bonded to the front wall.
Date: 01/31/2014
Views: 5155
|
|
|
|
IMG_6994
Seeing where the passenger door sill will have to be cut to allow the tank to go in.
Date: 10/21/2013
Views: 5476
|
|
|
IMG_7004
Here you see that the fuel outlets won't go past the pitch connection rod between the sticks. And this can not be removed to be replaced at a later date. The outlets have to be trimmed back by about 1/4 in (6.4 mm).
Date: 10/22/2013
Views: 6145
|
|
|
|
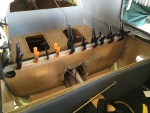
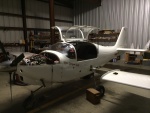
IMG_6960 1
One needs some room near the cockpit so the wings come off. In addition, all the connections to the fuel tank were removed.
Date: 11/10/2013
Views: 4962
|
|
|
IMG_6995
The cutout in the passenger door sill now allows entry of the tank.
Date: 10/21/2013
Views: 7394
|
|
|
|
IMG_6991
Finally, that fore-aft support piece is also in the way and will have to come out.
Date: 10/21/2013
Views: 5403
|
|
|
IMG_7367
Applying the fiberglass/epoxy strips to the starboard side.
Date: 02/22/2014
Views: 5659
|
|