|
|
IMG_7366
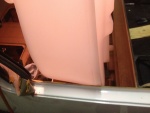
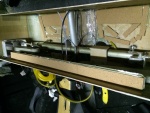
Applying the fiberglass/epoxy strips to the port side. Plastic wrap to prevent the epoxy from bonding to the tools used to hold the strip in place.
Date: 02/22/2014
Views: 6382
|
|
|
IMG_7231
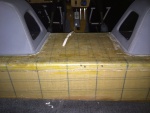
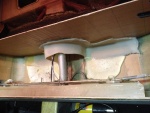
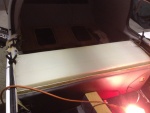
One final check to make sure everything fits and supports the tank.
Date: 01/26/2014
Views: 5229
|
|
|
|
IMG_7232
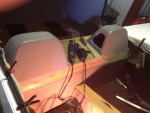
Must have had the tank in/out two dozen times determining necessary clearances and supports.
Date: 01/26/2014
Views: 5295
|
|
|
IMG_6961
The cut on the real side
Date: 10/17/2013
Views: 5334
|
|
|
|
IMG_6996
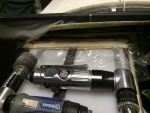
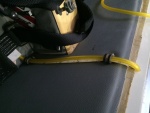
You also have to make sure you clear all the cables, plumbing and wiring in the "tunnel" area.
Date: 10/21/2013
Views: 5425
|
|
|
IMG_7321
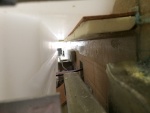
Checking the back.
Date: 02/17/2014
Views: 7239
|
|
|
|
IMG_7290
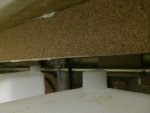
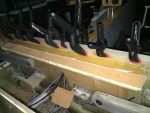
Bonded in the foam and cork support for the "ledge" at the front of the tank.
Date: 02/14/2014
Views: 5115
|
|
|
IMG_7373
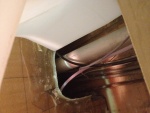
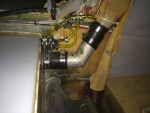
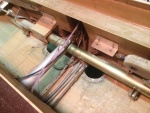
The vent system with all vent lines from the fuel sight gage and tank vents connected to the aircraft filler vent system.
Date: 02/22/2014
Views: 5433
|
|
|
|
IMG_7029
Supporting material in the form of rigid polyurethane sheet and micro/epoxy mix are laid out on the bottom of the fuselage.
Date: 10/31/2013
Views: 4807
|
|
|
IMG_6994
Seeing where the passenger door sill will have to be cut to allow the tank to go in.
Date: 10/21/2013
Views: 5481
|
|
|
|
IMG_7014
Next catch was where the filler needed to go into its' position. There was a piece blocking which had to be removed.
Date: 10/23/2013
Views: 6728
|
|
|
IMG_7235
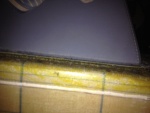
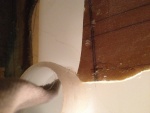
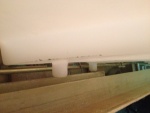
A strip being bonded to the front wall.
Date: 01/31/2014
Views: 5163
|
|
|
|
IMG_6977
The white stuff you see is low-expansion foam that was squirted in to provide support so this wouldn't happen. Unfortunately, I could not get foam under the port side sufficiently to support that side. That's where the crack developed.
Date: 10/19/2013
Views: 5122
|
|
|
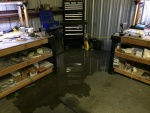
IMG_7536
It was a pretty good flow of water for a while. Flooding the back of the hanger. No real damage as, from previous experience, I try to keep things off the hanger floor in any case.
Date: 03/20/2014
Views: 7049
|
|
|
|
IMG_6971
The top of the old tank exposed. At this point the rotary tool was used to attack the old tank.
Date: 10/18/2013
Views: 4731
|
|
|
IMG_6958
Tear out the interior to gain access to the upper part of the back where the fuel tank resides.
Date: 10/17/2013
Views: 5000
|
|
|
|
IMG_7285
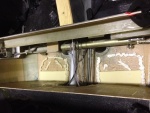
The new sight gage running up the back rest. 2 P-clips hold it in place. The new sight gage is also back lit with a strip of LED lights.
Date: 02/13/2014
Views: 4996
|
|
|
IMG_7226
Here the urethane on the aluminum ledge has also been covered with cork. The cork both served to protect the tank and the urethane.
Date: 01/19/2014
Views: 4936
|
|
|
|
IMG_7005
The space with the aileron tie rod and starboard side support removed.
Date: 10/22/2013
Views: 5513
|
|
|
IMG_6989
In addition, the aileron tie rod between the sticks is in the way and will have to come out.
Date: 10/21/2013
Views: 6676
|
|