|
|
IMG_0190[1]
Date: 04/13/2014
Views: 11299
|
|
|
DSC00165
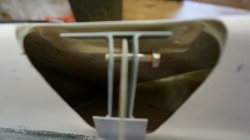
Trial fit of the push rod bracket! Doesn't look good. This is going to take some thought.
Date: 09/04/2015
Views: 12974
|
|
|
|
IMG_0230
Date: 01/31/2014
Views: 9439
|
|
|
DSC00160
Foam removed from rear bulk head ready for plywood inserts
Date: 09/03/2015
Views: 10156
|
|
|
|
IMG_0251
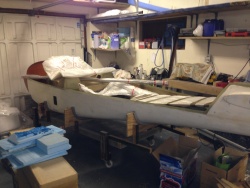
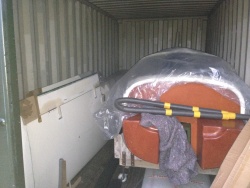
Kit safely in Storage.
Date: 02/01/2014
Views: 9363
|
|
|
IMG_0389
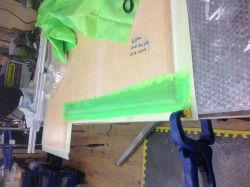
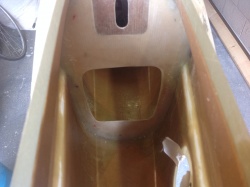
Rear Bulk head fixed and peel plyed
Date: 04/10/2015
Views: 8624
|
|
|
|
IMG_0408
Date: 04/17/2015
Views: 8998
|
|
|
IMG_0400
Date: 04/14/2015
Views: 9401
|
|
|
|
IMG_0410
Date: 04/17/2015
Views: 10887
|
|
|
DSC00214
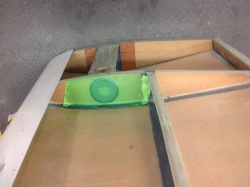
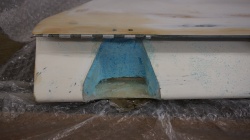
blue foam placed in rudder to fill void
Date: 09/08/2015
Views: 10439
|
|
|
|
IMG_0390
Date: 04/10/2015
Views: 8689
|
|
|
DSC00219
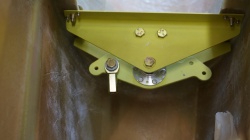
bracket installed
Date: 09/09/2015
Views: 10502
|
|
|
|
IMG_0279
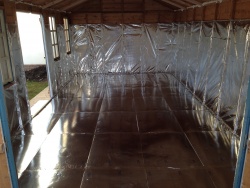
Insulation going in
Date: 04/02/2014
Views: 10815
|
|
|
DSC00157
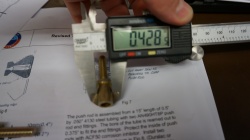
Instructions state that rod should be reamed to 0.375" but it needed to be reamed out 0.428" to fit push rod.
Date: 09/03/2015
Views: 8819
|
|
|
|
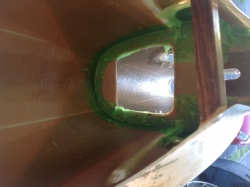
DSC00215
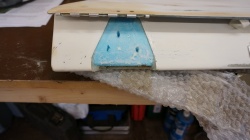
foam removed to make space for the rudder bracket
Date: 09/09/2015
Views: 9469
|
|
|
IMG_0344[1]
Aircraft parts & Documents stored
Date: 09/04/2014
Views: 10111
|
|
|
|
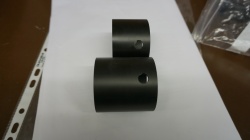
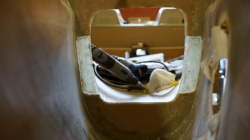
DSC00155
As you can see the Issue 1 Bearings are considerably longer and will require shortening once I have the correct dimensions.
Date: 09/03/2015
Views: 7961
|
|
|
IMG_0229
At Steve's workshop packing the kit ready for transportation
Date: 01/31/2014
Views: 9459
|
|
|
|
IMG_0412
Date: 04/17/2015
Views: 9397
|
|
|
IMG_0187.JPG (2)
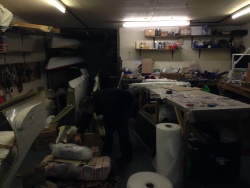
Workshop kitted out. All done in 3 weeks!
Date: 04/13/2014
Views: 11129
|
|


![IMG_0190[1]](d/759488-4/IMG_0190_1_.JPG)

![IMG_0344[1]](d/759508-4/IMG_0344_1_.JPG)