|
|
p1000473
p1000473.jpg
Date: 12/13/2011
Views: 13111
|
|
|
dsc09024
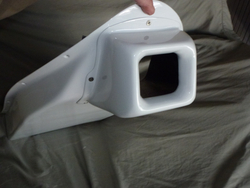
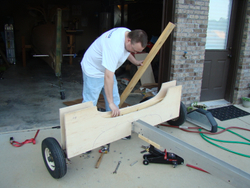
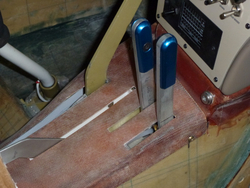
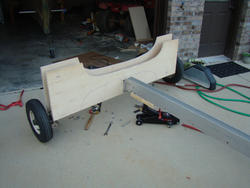
I was really anal about keeping the socket holes tight. This proved to be more work than it was worth and was fighting the tight fit when it came to locating the axles. Do yourself a favor and just make them a little bigger, 1/8 or so. This gap will be
Date: 01/22/2013
Views: 7793
|
|
|
|
DSC08803
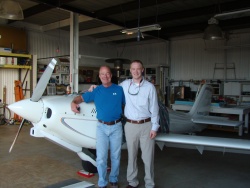
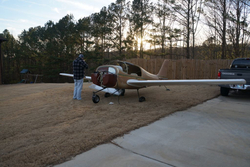
Me and my Uncle Kim.
Date: 06/10/2012
Views: 10034
|
|
|
nex_2014_01_25_16
nex_2014_01_25_16.jpg
Date: 01/25/2014
Views: 6883
|
|
|
|
dsc09049
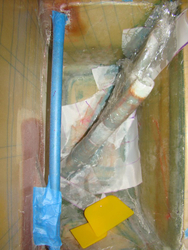
Layup Port side complete with peel ply. Notice the glad wrap to keep air from getting under the peel ply. 420 = 46g, aeropoxy ~ 200g
Date: 01/24/2013
Views: 7932
|
|
|
p1000634
p1000634.jpg
Date: 02/14/2012
Views: 6687
|
|
|
|
dsc08636
Here is Bill placing in some 2x6's to act as a support for the rear rib. The I-beam is 3 inches wide so the 2x6 fit perfectly. I'll explain later how those come into play.
Date: 04/15/2012
Views: 6904
|
|
|
dsc08618
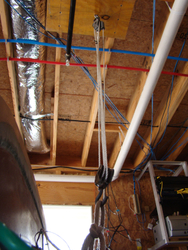
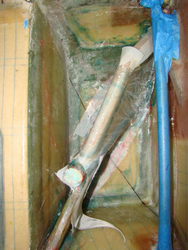
Block and tackle used to hoist the front of the aircraft to aid in creating a jig. This hoist reduces the weight to 25%.
Date: 04/14/2012
Views: 13945
|
|
|
|
dsc09051
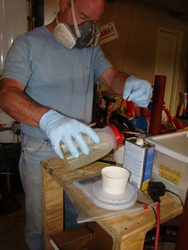
Mix it up Kim! FYI I hate this scale from aircraft spruce, it times out in one min if your plugged in or not. I would have to tap the scale while Kim mixed. We were using masks due to being in an enclosed area and I'm very allergic to the hardener (bumm
Date: 01/24/2013
Views: 7876
|
|
|
nex_2014_01_25_04
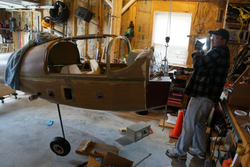
Bill helping hoist the aircraft up to remove the jig.
Date: 01/25/2014
Views: 6968
|
|
|
|
dsc09074
Port side Rib 2 layup.
Date: 01/26/2013
Views: 8387
|
|
|
E2
Date: 10/05/2012
Views: 11904
|
|
|
|
p1000693
p1000693.jpg
Date: 03/12/2012
Views: 6401
|
|
|
20160403_160443.jpg
20160403_160443.jpg
Date: 04/03/2016
Views: 13165
|
|
|
|
dsc09066
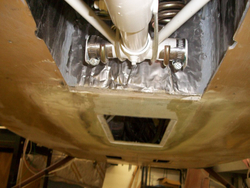
Port side peel ply removed. Oh notice the caps in the sockets. What I did was take a block of foam and push it down in the socket, then took it back out and covered it with car wax. Once all the ribs are in I'll see how it worked.
Date: 01/25/2013
Views: 7911
|
|
|
dsc08661
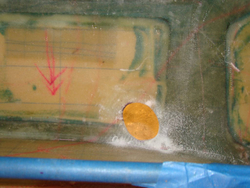
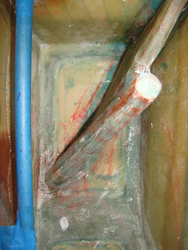
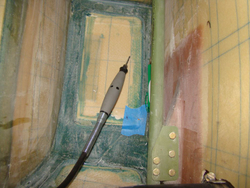
Locating the center of the main gear hole. Used a pilot to be used to measure out the 10“ diameter on the bottom.
Date: 04/22/2012
Views: 11218
|
|
|
|
E1
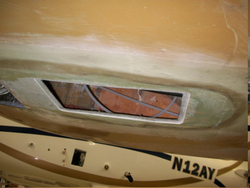
[quote="Bud Yerly"]"Make a glass cover that fits the hole out of three sheets of bid laid up on a flat surface. After cure, hold it up to the bottom of the plane and mark the contour. Cut and approximate the fit. It should be near level
Date: 10/05/2012
Views: 11158
|
|
|
dsc08635
Other view of the ribs.
Date: 04/15/2012
Views: 6876
|
|
|
|
nex_2014_01_25_28
Wings on. Not really required at the stage. Just had to do it for motivation.
Date: 01/26/2014
Views: 6983
|
|
|
20141102_161000
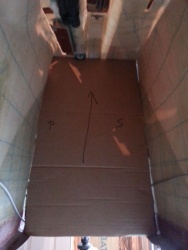
template for new firewall.
Date: 11/02/2014
Views: 14383
|
|