|
|
IMG_0230
Date: 01/31/2014
Views: 9445
|
|
|
IMG_0190[1]
Date: 04/13/2014
Views: 11306
|
|
|
|
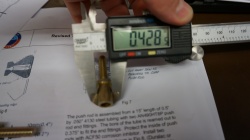
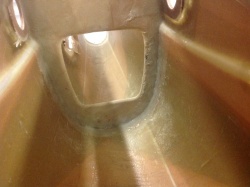
DSC00157
Instructions state that rod should be reamed to 0.375" but it needed to be reamed out 0.428" to fit push rod.
Date: 09/03/2015
Views: 8828
|
|
|
IMG_0390
Date: 04/10/2015
Views: 8698
|
|
|
|
IMG_0187[1]
Started to fit fixtures and fittings
Date: 04/13/2014
Views: 11915
|
|
|
IMG_0404
Date: 04/17/2015
Views: 9744
|
|
|
|
IMG_0410
Date: 04/17/2015
Views: 10901
|
|
|
IMG_0391
Date: 04/10/2015
Views: 8869
|
|
|
|
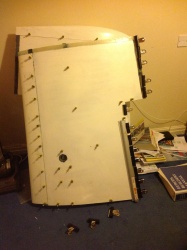
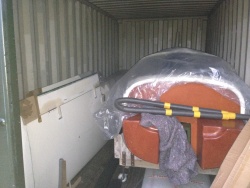
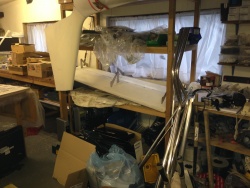
IMG_0251
Kit safely in Storage.
Date: 02/01/2014
Views: 9372
|
|
|
IMG_0394
Date: 04/10/2015
Views: 8798
|
|
|
|
IMG_0409
Date: 04/17/2015
Views: 8823
|
|
|
IMG_0191[1]
Date: 09/12/2015
Views: 9156
|
|
|
|
IMG_0231
Date: 01/31/2014
Views: 10014
|
|
|
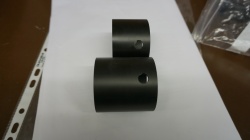
DSC00155
As you can see the Issue 1 Bearings are considerably longer and will require shortening once I have the correct dimensions.
Date: 09/03/2015
Views: 7969
|
|
|
|
DSC00229
Still some work to do but happy so far.
Date: 09/10/2015
Views: 13111
|
|
|
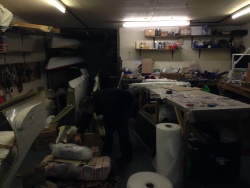
IMG_0340[1]
cloth cabinet installed.
Date: 09/04/2014
Views: 14258
|
|
|
|
IMG_0392
Date: 04/10/2015
Views: 8542
|
|
|
IMG_0417
Date: 04/22/2015
Views: 9434
|
|
|
|
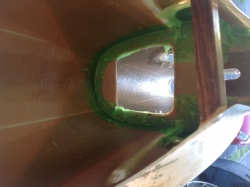
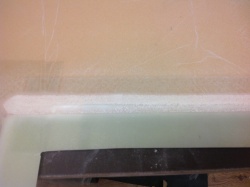
DSC00228
Had to remove more of the rudder than I wanted so build up rudder trailing edge by attaching peel ply to the outside of the rudder and build up trailing edge using flox around the edge and an initial 2 ply of bid. i'll apply an additional 2 ply after the
Date: 09/10/2015
Views: 8566
|
|
|
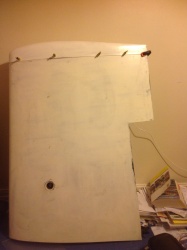
IMG_0389
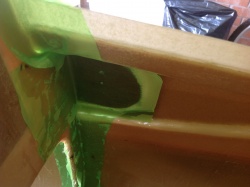
Rear Bulk head fixed and peel plyed
Date: 04/10/2015
Views: 8631
|
|


![IMG_0190[1]](d/759488-4/IMG_0190_1_.JPG)

![IMG_0187[1]](d/759478-4/IMG_0187_1_.JPG)

![IMG_0191[1]](d/759493-6/IMG_0191_1_.jpg)
![IMG_0340[1]](d/759513-4/IMG_0340_1_.JPG)