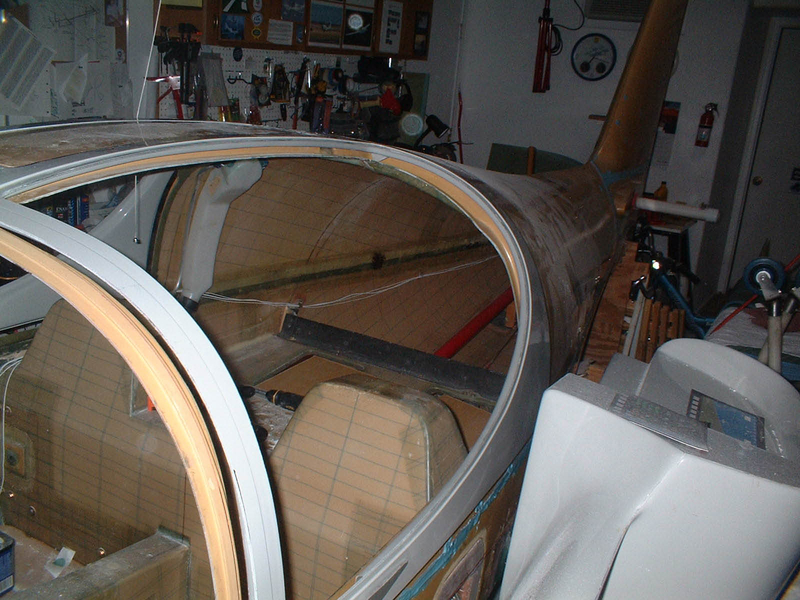
DSCF0043_001
The second one was definitly easier than the first.
OK, I may have left a photo or two out, but here is basically the step-by-step I worked out:
After you've reduced the edges of the door about 1/8" all around the door and shaped it to fit PERFECTLY, using the vise and AZ heat as mentioned earlier. No AZ sun? I've got some to spare...
1) Cut and drill 3/8" hole in the hinges
2) Align them onto the tangs per manual, 5-min epoxy in place
3) Counter sink hinges and drill 1/4" holes through hinges into tangs.
4) Make recesses with a forester bit.
5) Attach hinges to tangs with screws & nuts
6) Depending on your kit, make a thin lay up in hinge recesses with bid x2 & flox, release film, clamp in place.
7) After cure, put door on fuse and mark where through hinge holes onto fuse. Drill w/3/16" bit.
8) Finish with screws through bottom of hinge into fuselage.
Remember not to permanently attach doors to fuse at this point so they can be removed for painting.
This worked for me, follow at your own peril!
|
|

