Most Viewed Items1. FuelFiller0... ... 30. DoorMount26Ann 31. WingSet52 32. FlapDrive01Ann 33. TrimSwitche... 34. DoorMount03Ann 35. WingSetC10Ann 36. DoorMountQu... ... 84. NavAntInsta...Random Images
010323_003Date: 12/31/1969 Views: 4866 
IMG_1667_001Date: 06/23/2004 Views: 7447 
Fuel_tank_crack_27_Arnolld_bulgeDate: 04/28/2008 Views: 11183 Newest Image
EAA SITEDate: 08/23/2023 Views: 797201 Most Viewed Image
EAA SITEDate: 08/23/2023 Views: 797201 |
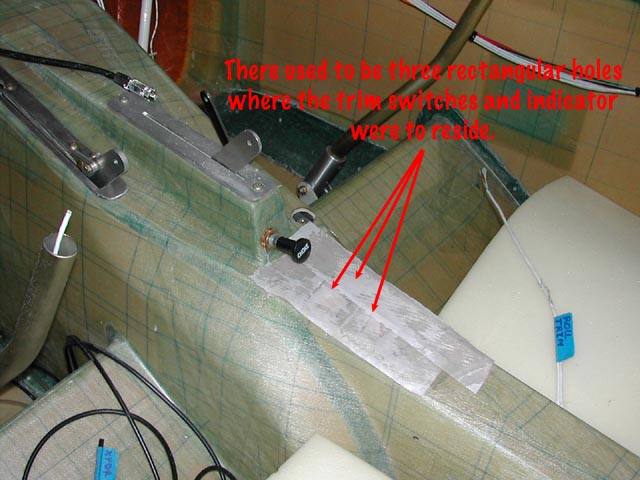
Photo Propertiessummary details
|