|
|
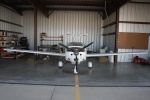
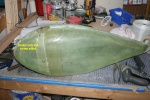
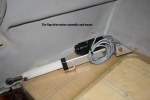
Wings on 3
Just had to get all the pitot/static lines and wing lighting wiring tucked into the wing root properly or they don't fit.
Date: 07/01/2011
Views: 6060
|
|
|
IMG_0118post
Date: 09/03/2010
Views: 4060
|
|
|
|
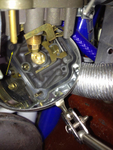
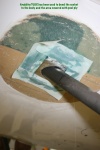
IMG_3277post
After the engine run still surged, I investigated the seating of the float bowls & gaskets. This one shows how the new gasket wasn't properly located, see arrow.
Date: 05/30/2012
Views: 6488
|
|
|
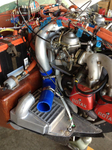
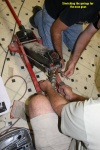
IMG_3438em
There was a bit more work with the Billet pump package, but it proved not to be the problem. Moving on, OK, not the fuel system. Try running the engine as a normally aspirated engine. Remove the connection between the turbo and airbox. Believe it or
Date: 07/17/2012
Views: 10101
|
|
|
|
IMG_0083post
Date: 09/02/2010
Views: 4939
|
|
|
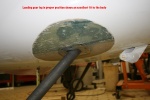
IMG_1675
End of April. Still fitting wheel pants and gear leg fairings. Here a picture of work on the console cover.
Date: 04/29/2011
Views: 5984
|
|
|
|
IMG_1459p
Work continued on the priming/sanding of the repaired areas like the port wing outer flap bracket
Date: 06/05/2011
Views: 4416
|
|
|
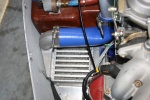
IMG_1396
Had to shorten the new intercooler hose to allow everything to move to port. Repositioned the aluminum baffle and the intercooler and all fits now.
Date: 05/26/2011
Views: 5106
|
|
|
|
IMG_1276ann
Anchor nuts and screws now hold the front on.
Date: 03/29/2011
Views: 3921
|
|
|
IMG_0248post
Date: 09/14/2010
Views: 5210
|
|
|
|
IMG_1306
Continue fitting wheel pants, gear leg fairings and the console cover.
Date: 04/15/2011
Views: 6022
|
|
|
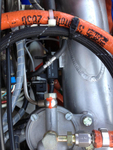
IMG_3577post
Next test, connect high pressure port from airbox directly to the "T" into the carb float bowl pressure lines and try a run. Still didn't work. Same smooth up to 4200/4300 RPM, smooth drop to 3200 RPM, smooth acceleration up to 4300 RPM, drop
Date: 08/03/2012
Views: 12280
|
|
|
|
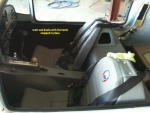
6_snaps
Seats reinstalled in the cockpit. Snap tabs to the headrests work great now. A bit more detail is available in the Modifications album
Date: 06/23/2011
Views: 4295
|
|
|
IMG_0130post
Date: 09/03/2010
Views: 3937
|
|
|
|
IMG_0101post
Date: 09/03/2010
Views: 4323
|
|
|
IMG_1482p
Drilled starboard side bracket
Date: 06/08/2011
Views: 4721
|
|
|
|
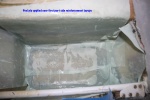
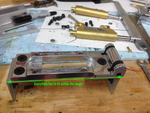
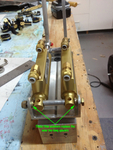
New MC-4A 04
The MC-4A's must fit within this length and that 3/4" should allow the fit.
Date: 04/15/2012
Views: 4983
|
|
|
IMG_0244post
Date: 09/13/2010
Views: 4695
|
|
|
|
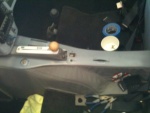
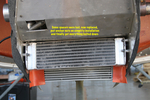
IMG_0824ann
Somewhere along the way, a couple spacers had been lost. Made up new ones. Also put anchor nuts on the radiator mounting flanges to make assembly easier, sorta, kinda. Seems like reassembling this aircraft is more difficult than the original building.
Date: 01/27/2011
Views: 5165
|
|
|
New MC-4A 11
Because the sides are narrower and closer to the ends of the MC-4A's the old outer spacers no longer fit and it would be impossible to further shorten them, they have been replaced with a couple washers.
Date: 04/15/2012
Views: 7672
|
|