Jeff_2
Jeff Roberts fuel tank repair 2
Karl Heindl wrote:
"Hi Jeff,
from the pictures i am trying to figure out how you accessed the tank. Did you make a large opening in the bottom of the fuselage ? Normally, there are only two round access holes."
Jeff wrote:
"Karl,
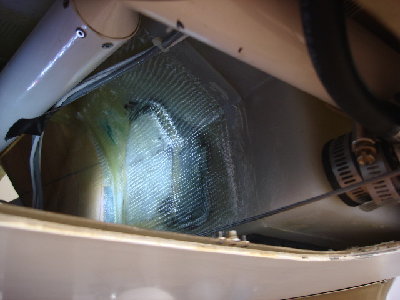
During the build which I started at Flight Crafters in 2003 we did an
oval access hole instead of the two as per the plans. Its about 12
inches across. Didn't know at the time I would ever need it but man am
I glad I did. I would think anyone at any time could make that change
fairly easily."
Karl:
"I thought that is what you did, and i wish this would be an approved
mod. my only concern would be: does it not weaken the fuselage ?"
Jeff:
"Karl,
Im not an engineer but I fly off a grass strip thats not so smooth and
I guess my bird is still strong. Maybe thats why the tank was stressed
but until now my Tri-Gear has been great on all the bumps. I would say
the larger hole is fine.
I believe most of the planes that we're started at the build center at
the time / "Flight Crafters" we're done this way but I'm not sure."
Y9-07-25
|
Full size:
400x300
|