Most Viewed Items1. DSCF0679 2. DSCF0675 3. Overview of... 4. DSCF0660 5. Starboard... 6. Option C)... 7. Option C)... 8. Option C). ... ... 84. DSCF0621Random Images
p1000704Date: 03/12/2012 Views: 12240 
Exhaust augmentor 1Date: 06/08/2010 Views: 16232 
Fin cap extra screws 2.Date: 05/07/2009 Views: 11610 Newest Image
EAA SITEDate: 08/23/2023 Views: 843864 Most Viewed Image
EAA SITEDate: 08/23/2023 Views: 843864 |
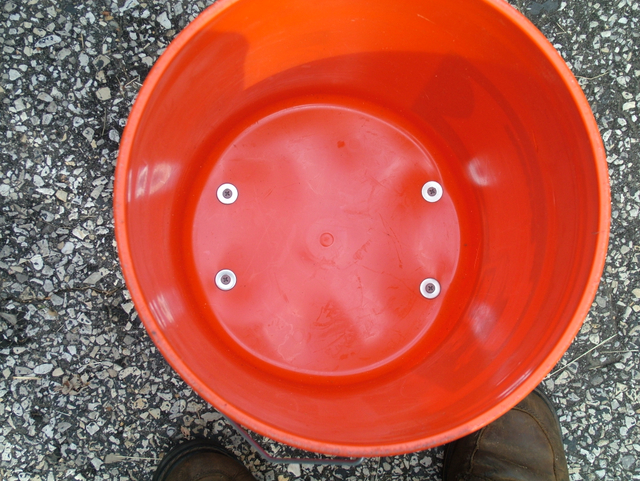
Photo Propertiessummary details
|