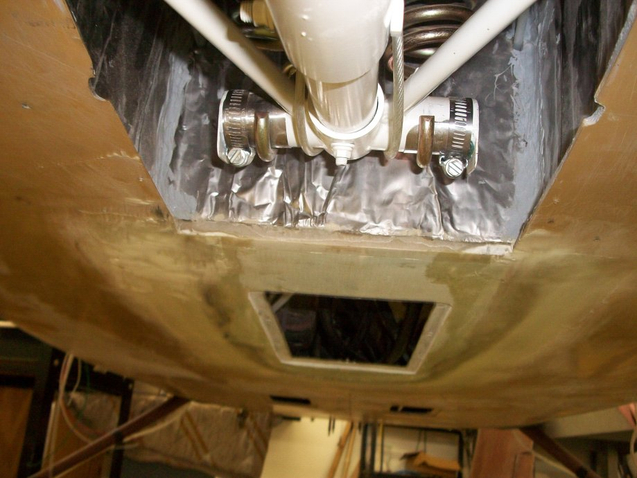
[quote="Bud Yerly"]"Make a glass cover that fits the hole out of three sheets of bid laid up on a flat surface. After cure, hold it up to the bottom of the plane and mark the contour. Cut and approximate the fit. It should be near level with the lower surface and quite tight. I add an access hole. I also make a bulkhead just aft of the nose gear as a firewall. I cover the new firewall with firewall material such as from Aircraft Spruce.
Then I make a 1/8 inch ply or metal access hole cover to me for access later on. I use a 6 inch by 12 inch 3/32 inch aluminum or plywood plate with rounded corners. Cut out the access hole the size of the plate plus 1/8 inch. Cover the plate edge with about 1/6 inch of blue painters tape and fold over to make a nice edge that will allow clearance. Cover the plate with release tape. Flox the edge of the cover and then lay three layers of glass tape around the plate on the flat sheet on the table to make a nice recessed plate. Prep the area for glassing by removing the old paint. Put the new fiberglass piece in the hole and tack with 5 minute, or super glue as close to level as possible. Then glass it in. Some prefer to glass it in over the outside and others lay tapes on the inside to glass it in to reduce filling and sanding. Fill sand prime and paint.."[/quote]