|
|
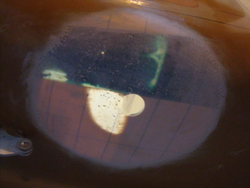
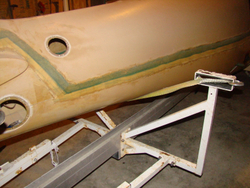
DSC08801
starboard side
Date: 06/05/2012
Views: 42060
|
|
|
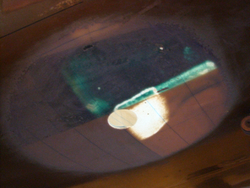
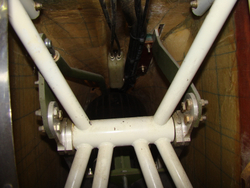
DSC08799
Port side
Date: 06/05/2012
Views: 43321
|
|
|
|
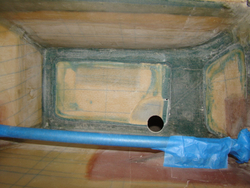
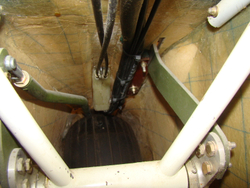
DSC08797
Port side
Date: 06/05/2012
Views: 43779
|
|
|
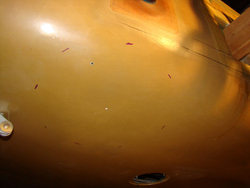
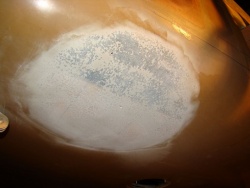
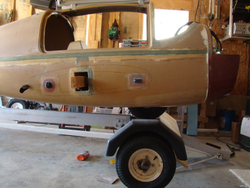
dsc08662
The 10“ diameter from the pilot hole.
Date: 04/22/2012
Views: 25415
|
|
|
|
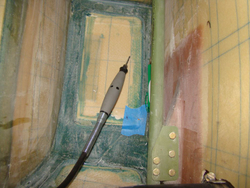
dsc08664
The gell coat really gums up the sand paper. Still a bit more to remove.
Date: 04/22/2012
Views: 25689
|
|
|
dsc08661
Locating the center of the main gear hole. Used a pilot to be used to measure out the 10“ diameter on the bottom.
Date: 04/22/2012
Views: 24766
|
|
|
|
dsc08642
From the start the airframe was sitting 2.5 deg tail low and 0.1 deg to port. Not bad for just putting her on there. I jacked up the back of the trailer to get it as near to 0.0 as possible and also shifted the airframe latterly to turn that .1 to 0.0 a
Date: 04/15/2012
Views: 28033
|
|
|
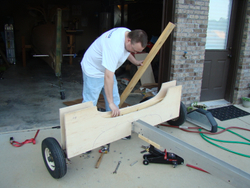
dsc08636
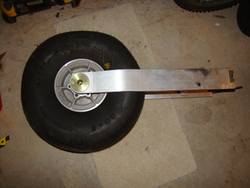
Here is Bill placing in some 2x6's to act as a support for the rear rib. The I-beam is 3 inches wide so the 2x6 fit perfectly. I'll explain later how those come into play.
Date: 04/15/2012
Views: 19922
|
|
|
|
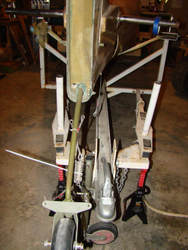
dsc08637
The mono wheel has been removed. Sad to see never used parts coming off the plane.
Date: 04/15/2012
Views: 19964
|
|
|
dsc08638
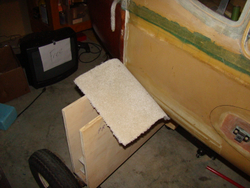
I used some thick good quality carpet to pad the ribs.
Date: 04/15/2012
Views: 19647
|
|
|
|
dsc08639
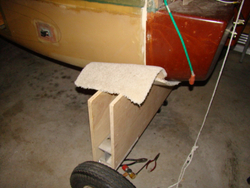
More of the same. I was going to cut the carpet and form it to the ribs and staple it in place but decided that was just a time vampire and pointless since the airframe is holding it in place.
Date: 04/15/2012
Views: 24947
|
|
|
dsc08640
OK not the best shot but here you can see I used the jack to move the rear rib in place under the airframe being careful not to pinch the belly. I then secured the rib in place but using some drywall screws in the 2x6. This way any weight will be transf
Date: 04/15/2012
Views: 24044
|
|
|
|
dsc08641
Was going to use another plywood rib here but decided that the wide strap works fine. I later added some foam to the strap to give it some padding.
Date: 04/15/2012
Views: 21776
|
|
|
dsc08628
Nic pic of the plane! If Bill would move his head out of the way! Notice I'm using a bungee cord to hold the doors open.
Date: 04/14/2012
Views: 24117
|
|
|
|
dsc08629
In a few mins she will no longer be a monowheel :-(
Date: 04/14/2012
Views: 22664
|
|
|
dsc08630
Though this was a neat pic of the mono wheel in the retracted position.
Date: 04/14/2012
Views: 21122
|
|
|
|
dsc08631
More of the same.
Date: 04/14/2012
Views: 19455
|
|
|
dsc08633
We had to put the plane somewhat down near the trailer with the main up so that we could get the right contour for the ribs. Reminds me of a B-17 with the main just showing.
Date: 04/14/2012
Views: 19360
|
|
|
|
dsc08634
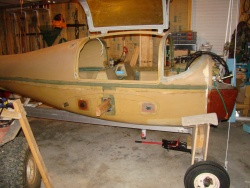
OK now that the plane is off the trailer and on its own wheel we were able to remove most of the trailer hardware and position the ribs. We also used the main bolts to hold the first rib in place. The other rib was left a little lower to be located once
Date: 04/15/2012
Views: 20725
|
|
|
dsc08635
Other view of the ribs.
Date: 04/15/2012
Views: 18660
|
|