|
|
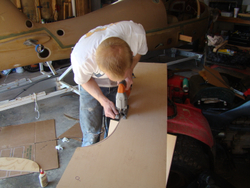
dsc08625
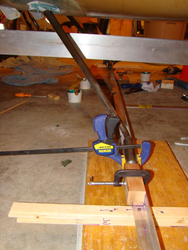
Cutting out one of the ribs for the airframe. Going to use the mono trailer as the foundation of the jig. This will make is easy to level the airframe when getting ready for the trr-gear conversion. How do you like my work bench?
Date: 04/14/2012
Views: 32560
|
|
|
dsc09041
Port side guides being placed for layup.
Date: 01/23/2013
Views: 19210
|
|
|
|
nex_2014_01_25_31
Starboard side, need to trim the bolt.
Date: 01/26/2014
Views: 24030
|
|
|
20141102_161036
Everything looking good.
Date: 11/02/2014
Views: 36640
|
|
|
|
dsc08634
OK now that the plane is off the trailer and on its own wheel we were able to remove most of the trailer hardware and position the ribs. We also used the main bolts to hold the first rib in place. The other rib was left a little lower to be located once
Date: 04/15/2012
Views: 20722
|
|
|
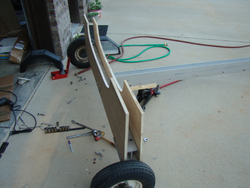
dsc09029
Gear legs clamped in place, no toe in/out per Bud. You cant see it in the photo but I used a green tip .30 bullet as a homemade plum bob that was attached to dead center of the aluminum angle. This helped us keep the guide over the center line. Oh make
Date: 01/22/2013
Views: 20252
|
|
|
|
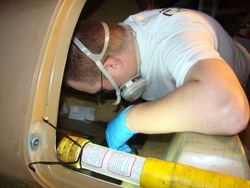
dsc09071
Uncle Kim glassing in Rib 2.
Date: 01/26/2013
Views: 19345
|
|
|
dsc09062
Bill applying peel ply!
Date: 01/24/2013
Views: 18166
|
|
|
|
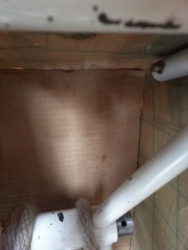
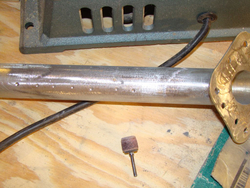
dsc09023
Ensure you have a good key. I used the drill press to create the dimples. These will be filled with 420 and flox when doing the glass layups.
Date: 01/22/2013
Views: 20687
|
|
|
dsc09042
Starboard side being keyed.
Date: 01/23/2013
Views: 17834
|
|
|
|
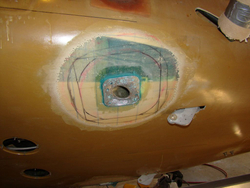
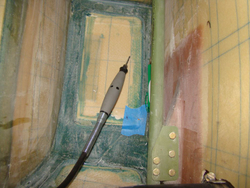
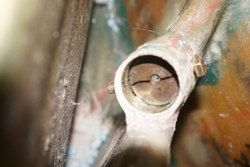
dsc08963
Port side. LG socket fitting.
Date: 10/01/2012
Views: 20858
|
|
|
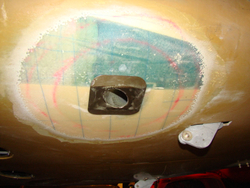
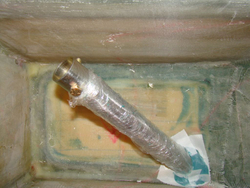
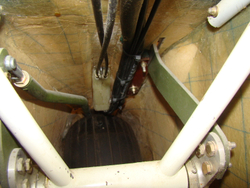
dsc08661
Locating the center of the main gear hole. Used a pilot to be used to measure out the 10“ diameter on the bottom.
Date: 04/22/2012
Views: 24764
|
|
|
|
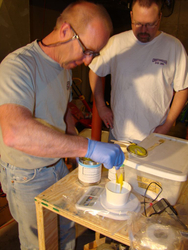
dsc09027
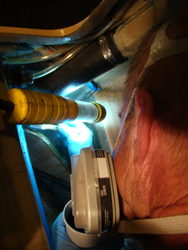
Mixing that expensive 420.
Date: 01/22/2013
Views: 19683
|
|
|
dsc08633
We had to put the plane somewhat down near the trailer with the main up so that we could get the right contour for the ribs. Reminds me of a B-17 with the main just showing.
Date: 04/14/2012
Views: 19360
|
|
|
|
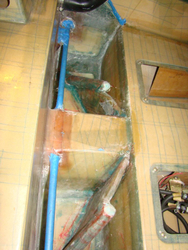
dsc09033
Port side done.
Date: 01/22/2013
Views: 18553
|
|
|
nex_2013_08_24_02
nex_2013_08_24_02.jpg
Date: 08/25/2013
Views: 17314
|
|
|
|
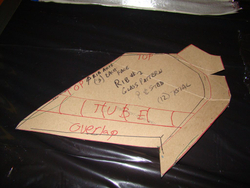
dsc09073
Rib 2 template.
Date: 01/26/2013
Views: 18923
|
|
|
nex_2014_01_12_05
Port side top.
Date: 01/13/2014
Views: 17600
|
|
|
|
dsc08631
More of the same.
Date: 04/14/2012
Views: 19452
|
|
|
dsc09067
dsc09067.jpg
Date: 01/25/2013
Views: 19404
|
|