|
|
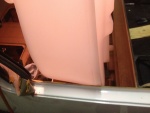
IMG_7004
Here you see that the fuel outlets won't go past the pitch connection rod between the sticks. And this can not be removed to be replaced at a later date. The outlets have to be trimmed back by about 1/4 in (6.4 mm).
Date: 10/22/2013
Views: 5076
|
|
|
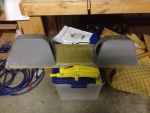
IMG_7567
Time to start putting upholstery back in place.
Date: 03/29/2014
Views: 5065
|
|
|
|
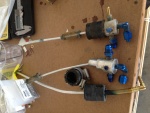
IMG_7535
Then we had a bit of drama as the sink developed a leak in the feed line.
Date: 03/20/2014
Views: 5058
|
|
|
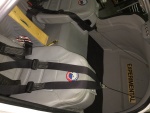
IMG_7736
Reinstalled the shoulder harnesses and seats
Date: 05/10/2014
Views: 5039
|
|
|
|
IMG_7735
Not as nice as it was but still not looking too shabby.
Date: 05/10/2014
Views: 5009
|
|
|
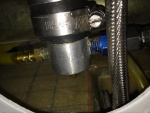
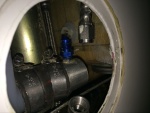
IMG_7335
New sight gage connection clamped and fuel tight. The outlet to the fuel selector has been connected.
Date: 02/17/2014
Views: 5001
|
|
|
|
IMG_6858
The old fittings as removed from the old tank. Vent on left, starboard outlet in the middle and port outlet on the right.
Date: 10/01/2013
Views: 4935
|
|
|
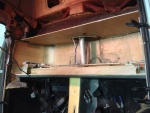
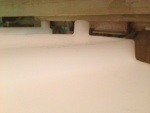
IMG_6982
The tank must go into this space.
Date: 10/21/2013
Views: 4801
|
|
|
|
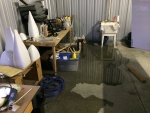
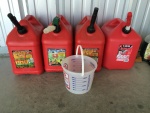
IMG_7768
There's 18 gallons of AvGas in those 4 5-gallon gas cans.
Date: 05/18/2014
Views: 4784
|
|
|
IMG_7281
This picture illustrates how the new vent will be installed to obtain the best venting possible within the limits of the tank.
Date: 02/13/2014
Views: 4717
|
|
|
|
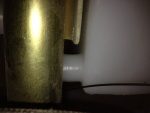
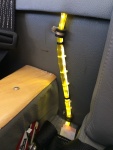
IMG_7767
The sight gage with calibration markers.
Date: 05/18/2014
Views: 4706
|
|
|
IMG_7313
The filler neck and vent installed in the tank.
Date: 02/17/2014
Views: 4673
|
|
|
|
IMG_7770
Calibrated sight gage with LED illumination. This really does help identify the fuel level. FYI: 6 gal to the bottom of the lower P-Clip, 7 gal to the top of the P-Clip, 8 gal to the 1st white tie, 9 gal to the 2nd tie, 10 gal to the 1st black tie, 12 g
Date: 05/18/2014
Views: 4665
|
|
|
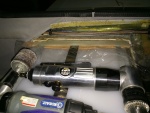
IMG_7367
Applying the fiberglass/epoxy strips to the starboard side.
Date: 02/22/2014
Views: 4660
|
|
|
|
IMG_7315
The starboard side outlet installed. Fuel outlet to the fuel selector is on the port side and fuel return from the engine is on the starboard side.
Date: 02/17/2014
Views: 4627
|
|
|
IMG_7282
Two venting outlets.
Date: 02/13/2014
Views: 4587
|
|
|
|
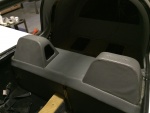
IMG_6969
The top of the back rest removed. The rotary tool could not get into the area on the sides. A hacksaw blade was recruited for that effort. And it was an effort!
Date: 10/18/2013
Views: 4560
|
|
|
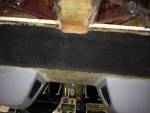
IMG_6994
Seeing where the passenger door sill will have to be cut to allow the tank to go in.
Date: 10/21/2013
Views: 4481
|
|
|
|
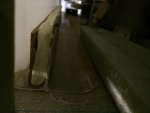
IMG_6991
Finally, that fore-aft support piece is also in the way and will have to come out.
Date: 10/21/2013
Views: 4473
|
|
|
IMG_7305
Checked, double checked and again checked all the fits.
Date: 02/16/2014
Views: 4468
|
|