|
|
IMG_6843
Back from KOSH, I get out my video snake and try to run it down into the tank to find the leak.
Date: 10/01/2013
Views: 3991
|
|
|
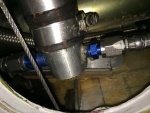
IMG_7356
The starboard side outlet with all fuel lines connected.
Date: 02/19/2014
Views: 4024
|
|
|
|
IMG_7568
And reconnecting the aileron tie rods.
Date: 03/29/2014
Views: 5461
|
|
|
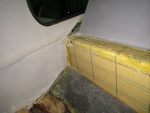
IMG_6956 1
With the tank removed, the micro and urethane could be covered with cork. The cork serves to protect the tank from abrasion by the support materials. You can also see the strip of urethane applied to the top of the aluminum support for the tank ledge.
Date: 11/10/2013
Views: 4488
|
|
|
|
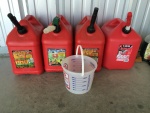
IMG_7768
There's 18 gallons of AvGas in those 4 5-gallon gas cans.
Date: 05/18/2014
Views: 4857
|
|
|
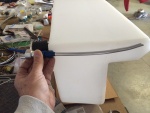
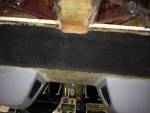
IMG_7438
The back is well bonded across the width of the wall, as are the two sides.
Date: 03/11/2014
Views: 5477
|
|
|
|
IMG_7305
Checked, double checked and again checked all the fits.
Date: 02/16/2014
Views: 4570
|
|
|
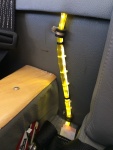
IMG_7770
Calibrated sight gage with LED illumination. This really does help identify the fuel level. FYI: 6 gal to the bottom of the lower P-Clip, 7 gal to the top of the P-Clip, 8 gal to the 1st white tie, 9 gal to the 2nd tie, 10 gal to the 1st black tie, 12 g
Date: 05/18/2014
Views: 4762
|
|
|
|
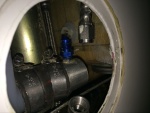
IMG_7281
This picture illustrates how the new vent will be installed to obtain the best venting possible within the limits of the tank.
Date: 02/13/2014
Views: 4780
|
|
|
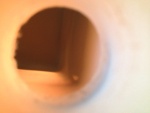
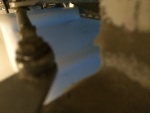
IMG_6855
But I can't get it past the entrance to the tank. Looks like I'll have to tear into things.
Date: 10/01/2013
Views: 4328
|
|
|
|
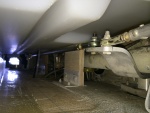
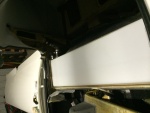
IMG_6982
The tank must go into this space.
Date: 10/21/2013
Views: 4917
|
|
|
IMG_7322
Checking the back.
Date: 02/17/2014
Views: 5453
|
|
|
|
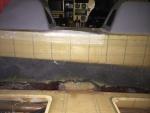
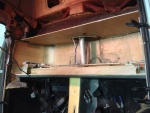
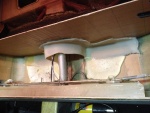
IMG_6977
The white stuff you see is low-expansion foam that was squirted in to provide support so this wouldn't happen. Unfortunately, I could not get foam under the port side sufficiently to support that side. That's where the crack developed.
Date: 10/19/2013
Views: 4257
|
|
|
IMG_7382
Blue fuel in the tank.
Date: 02/23/2014
Views: 3971
|
|
|
|
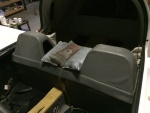
IMG_7730
Returned the upholstery on to the back.
Date: 05/09/2014
Views: 5550
|
|
|
IMG_7315
The starboard side outlet installed. Fuel outlet to the fuel selector is on the port side and fuel return from the engine is on the starboard side.
Date: 02/17/2014
Views: 4719
|
|
|
|
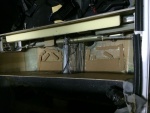
IMG_7567
Time to start putting upholstery back in place.
Date: 03/29/2014
Views: 5135
|
|
|
IMG_7312
With one final overall fit of the tank.
Date: 02/17/2014
Views: 6303
|
|
|
|
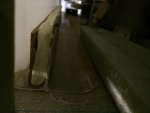
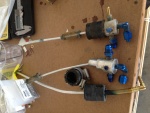
IMG_6858
The old fittings as removed from the old tank. Vent on left, starboard outlet in the middle and port outlet on the right.
Date: 10/01/2013
Views: 5043
|
|
|
IMG_6996
You also have to make sure you clear all the cables, plumbing and wiring in the "tunnel" area.
Date: 10/21/2013
Views: 4552
|
|