|
|
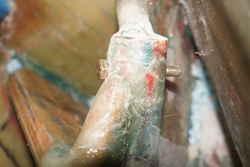
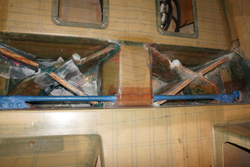
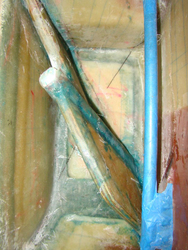
nex_2014_01_12_04
Port LG in place with bolt in.
Date: 01/13/2014
Views: 6103
|
|
|
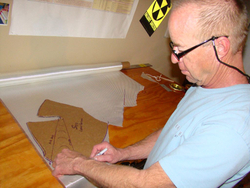
dsc09047
I took cardboard and bent it around the socket and overlapped per the manual. Then took this cardboard and made a new template for cutouts. This made the layups go really quick.
Date: 01/23/2013
Views: 7445
|
|
|
|
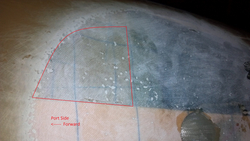
2012-08-18_19-58-15_689
Port side. Red highlighted area shows area with little reinforcement on inside. This is before I did the belly layup per the manual.
Date: 08/19/2012
Views: 9831
|
|
|
dsc08640
OK not the best shot but here you can see I used the jack to move the rear rib in place under the airframe being careful not to pinch the belly. I then secured the rib in place but using some drywall screws in the 2x6. This way any weight will be transf
Date: 04/15/2012
Views: 7027
|
|
|
|
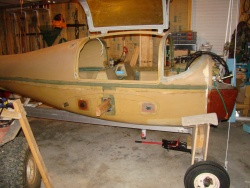
dsc08628
Nic pic of the plane! If Bill would move his head out of the way! Notice I'm using a bungee cord to hold the doors open.
Date: 04/14/2012
Views: 7476
|
|
|
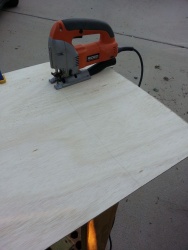
20141102_162118
Cut it out.
Date: 11/02/2014
Views: 57033
|
|
|
|
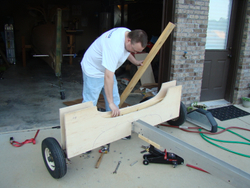
dsc08636
Here is Bill placing in some 2x6's to act as a support for the rear rib. The I-beam is 3 inches wide so the 2x6 fit perfectly. I'll explain later how those come into play.
Date: 04/15/2012
Views: 6422
|
|
|
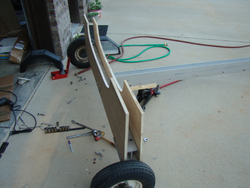
dsc08634
OK now that the plane is off the trailer and on its own wheel we were able to remove most of the trailer hardware and position the ribs. We also used the main bolts to hold the first rib in place. The other rib was left a little lower to be located once
Date: 04/15/2012
Views: 6583
|
|
|
|
dsc09033
Port side done.
Date: 01/22/2013
Views: 6998
|
|
|
nex_2013_08_24_04
As you see here the port side is done with rib 3 and 4. I didn't have photos of doing the layups.
Date: 08/25/2013
Views: 6284
|
|
|
|
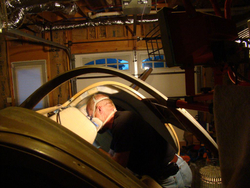
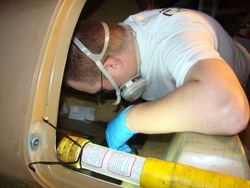
dsc09072
Here is a shot of the working angle. This was so much better than leaning over the edge. Kim's idea. Notice the heater behind Kim, this was key to keeping the temps even though the temps outside were in the 40's.
Date: 01/26/2013
Views: 7275
|
|
|
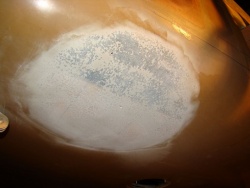
dsc08664
The gell coat really gums up the sand paper. Still a bit more to remove.
Date: 04/22/2012
Views: 12171
|
|
|
|
dsc08622
Removed.
Date: 04/14/2012
Views: 14334
|
|
|
dsc09029
Gear legs clamped in place, no toe in/out per Bud. You cant see it in the photo but I used a green tip .30 bullet as a homemade plum bob that was attached to dead center of the aluminum angle. This helped us keep the guide over the center line. Oh make
Date: 01/22/2013
Views: 7291
|
|
|
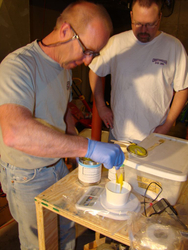
|
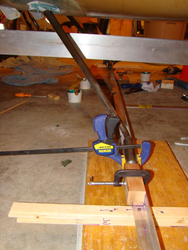
dsc09027
Mixing that expensive 420.
Date: 01/22/2013
Views: 7130
|
|
|
nex_2013_08_24_03
nex_2013_08_24_03.jpg
Date: 08/25/2013
Views: 5987
|
|
|
|
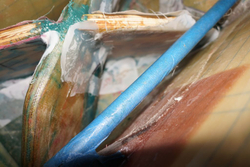
dsc08965
Port side after layups and peel ply removed. Notice shape of hole for the angle of the LG socket. I wrapped the LG socket with sandpaper and used it to form the hole.
Date: 10/01/2012
Views: 8790
|
|
|
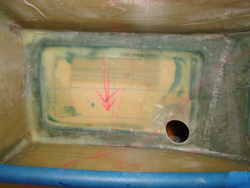
dsc09075
Stbd side after cure. We died the uni in with rib 1.
Date: 01/26/2013
Views: 7571
|
|
|
|
dsc09062
Bill applying peel ply!
Date: 01/24/2013
Views: 7317
|
|
|
20141102_154504
Cut old fuel lines. Gona have to replace them anyways. Now I just need to remove the stop block where the gear handle went.
Date: 11/02/2014
Views: 13937
|
|