Mill round slot in master cylinder 2 of 2
A little paint needed > then flight ready.
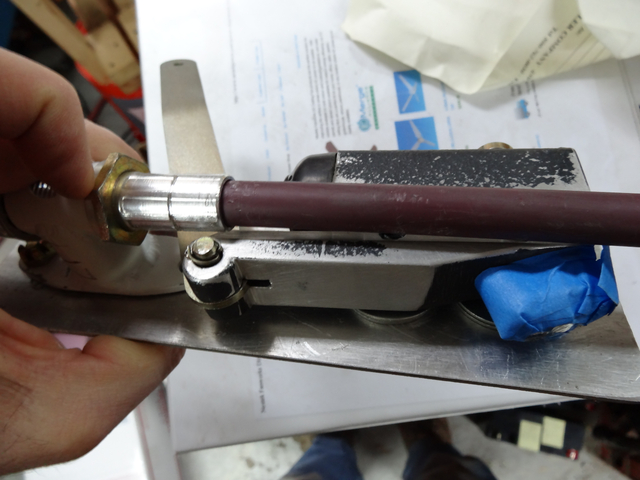
See Album:
"PUSH-PULL CABLE DETAIL: FRONT CABLE ATTACHMENT"
for gory details.
I met up with Wayne tonight:
** We used our jig and drilled all three holes for the rear bracket mount (we marked aft hole with pencil on a hemostat, then used small rare earth magnets to transfer location to the outside of the pitch tube tunnel), fit was perfect to our bracket!
** We verified things are as they should be, then drilled the aft hole of the front bracket right through our aluminium temporary bracket and tunnel
** We then disassembled everything, removed the temporary front aluminium mounting bracket and reassembled everything for the first time with the front mounting bracket mounted to the tunnel. We then optimized the front hole location after cycling the flap push-pull cable several times, then removed the push-pull cable and drilled the front hole.
Final preparations will be made on the entire flap push-pull cable assembly, then will do our final install and sign off as "flight ready":
## Paint Master Cylinder with DOT 3 brake fluid resistant paint
## Install 3/16" thick front bracket hard-point (6061) tapering down to 1/8", then 2 BID, aluminium plate, then 2 BID and peel ply
## Paint all that needs painting
## Redux all that needs Reduxing in place
## Fabricate new FL21 out of 7075 .250" thick 7075 plate (trying to replicate the correct moment arm length we have now using the factory FL21 with a hole drilled lower, only allowing the clevis fork to move more forward towards LG08), will need to verify with wings rigged we have proper flap throw once our flap up-stops are installed
## Install flap up-stops (perforated SS area with TIG welded distorted thread nut and SS Allen screw with thick washer welded to the bottom)
Y13-12-23
|
|


