Orange part created in turbocad and printed on a 3D printer from ABS. Printer is a Prusa i3 X, cost is around $300.
Date: 04/03/2016
Views: 19149
Ceiling panel layout begins
Date: 03/05/2009
Views: 3486
IMG_0059
Date: 05/03/2007
Views: 3796
Newest Image
EAA SITE
Date: 08/23/2023
Views: 196564
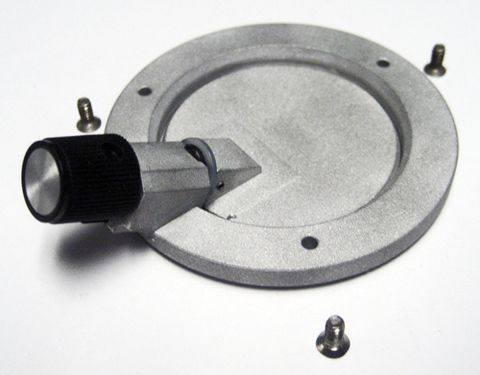
Ultimate_ventilator_001
Ultimate installation of Ultimate ventilator by Aircraft Spruce:
http://www.aircraftspruce.com/catalog/appages/ultimatevent.php
Plan is to install:
**** 4.000" (center) forward of front face of window bow.
****3.450" (center) below edge of window.
Above dimensions will give us 2.500" from edge of window to edge of Ultimate ventilator hole.
Will mutilate fuse by making a hole the OD of Ultimate ventilator (2.500"), then taper edge sharp. Will make sure anywhere there is foam, will dig out foam by at least 1/2".
Prior to cutting hole will layup a 2 ply mold, then after hole is cut and sharpened, will layup 4 BID over hole, mold and fuse:
** Ply #1 6.750" OD circle
** Ply #2 and #3 6.500" OD circle
** Ply #4 6.250" OD donut with a 2.750" ** OD hole in center
Then peel ply.
Once cured will make Ultimate ventilator hole which will be 3 BID thick to allow a pretty flush installation. There will be a minimum of 1/2" glass to glass anywhere there is foam.
Very similar to manual instructions on how to construct access covers in aft fuse.
Concerns are weakening of fuse, seems crashed Europas tend to break near where we want to install. 3 BID and Ultimate ventilator being Reduxed in place satisfies us.
Sitting in cockpit, wanted vent up high enough so your knee will not hit vent and there is a clean shot to body and face.
Wanted a semi flush install. Trying to level an area consisting of foam, seam joggle and edges would not prove to be easy. 3 BID satisfies semi flush mounting.
Y9-07-03


