|
25062008124_G
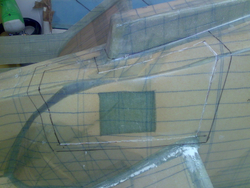
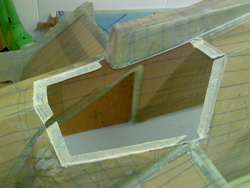
Here marking the cutout. I used a Dremel with cutting disc for the actual cut.
Date: 09/10/2009
Views: 2633
|
|
|
26062008125_G
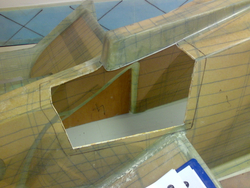
First cutout done
Date: 09/10/2009
Views: 2381
|
|
|
29062008126_G
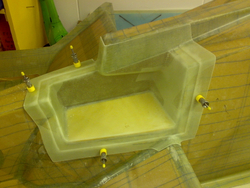
Now the tricky part, removing the skin and foam. Cut carefully with the Dremel, peeled off the skin and removed the foam with Dremel and wire brush
Date: 09/10/2009
Views: 2370
|
|
|
30062008127_G
Temporarily fixed the insert in place with clecos
Date: 09/10/2009
Views: 2425
|
|
|
IMG_1194
All the metally bits installed. Looks like a simple assembly job, but there is only one order in which it will all fit together and that is the one you try on the 12th attempt. Even then I had to drill a hole in the side to get the front bracket bolt in.
Date: 10/25/2009
Views: 2688
|
|
|
IMG_1195
The cover on. The levers are taped off because I had them polished. Gotta look good!
Date: 10/25/2009
Views: 2431
|
|
|
IMG_5328
Fitting the hand brak lever cover. Washers interfere but since it will covered later anyway I grind the corner off.
Date: 04/04/2013
Views: 2660
|
|
|
IMG_5330
Knob fitted. Both handle and knob nicely polished. Lot of work but great for those moments when you can't figure something out and would be staring at the ceiling anyway. I get a lot of those moments.
Date: 04/14/2013
Views: 18315
|
|
|
IMG_5333
Connecting up the brakes.
Date: 04/24/2013
Views: 2321
|
|
|
IMG_5334
Connecting up the brake lines to the hand brake. To avoid bubbles they have to come up continuously. Crossing them over like this actually makes it easier to do that.
Date: 04/24/2013
Views: 2715
|
|
|
|