|
20122008237_G
In flight entertainment will consist of an electric guitar
Date: 10/27/2009
Views: 3910
|
|
|
20122008238_G
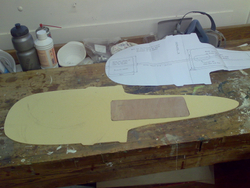
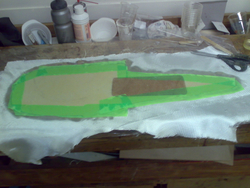
Insert fitted, microed, laid-up and covered with peel ply. The same treatment will follow for the other side
Date: 10/27/2009
Views: 2251
|
|
|
25122008239_G
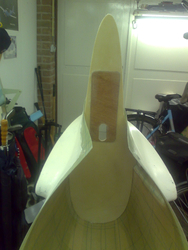
Trimming the bulkhead to fit the rear fuselage. I cut the large hole in the bulkhead later (having missed that bit..)
Date: 10/27/2009
Views: 2509
|
|
|
29122008241_G
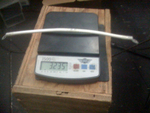
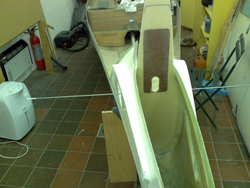
Next come guide holes for the torque tube holes. A piece of rigid wire to make sure it is all straight
Date: 10/27/2009
Views: 2460
|
|
|
29122008242_G
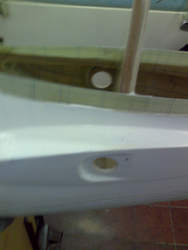
Making the main holes, large enough to fit the torque tube bushings
Date: 10/27/2009
Views: 2437
|
|
|
31122008245_G
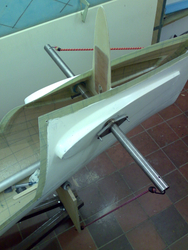
Bonding in the bushes on the inside. The suspenders are to make sure the tube is parallel to the firewall and horizontal.
Having triple checked everything I was sure the plates were right way round on the torque tube. Not so. Murphy strikes again. Switched round they did not move freely in the bushings, which by that time were fixed rock hard. Judicious use of sanding solved the problem. I have since found out that araldite is easily softened with a bit of hot air and I should have done that.
Date: 10/27/2009
Views: 3858
|
|
|
01012009246_G
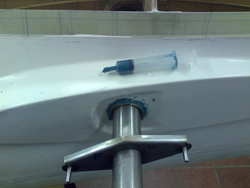
Once the inside has cured more araldite goes on the outside of the bushing. Here again the peroxide syringe is the perfect tool
Date: 10/27/2009
Views: 2764
|
|
|
IMG_1343
To prevent the tubes from sliding sideways nylon bushes are installed on the inside. It is very difficult to get the holes in the right place, so a few mm of play is allowed. I achieve a perfect fit and am very pleased with myself.
Date: 01/24/2010
Views: 2252
|
|
|
IMG_1344
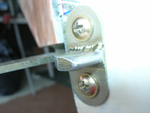
As a finale the four temporary bolts are replaced with steel pins. Slightly oversize to ensure a tight fit, they require a very satisfying thump with the hammer to drive them home.
Date: 01/24/2010
Views: 5579
|
|