|
|
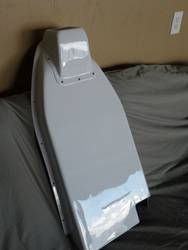
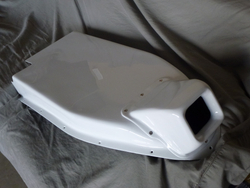
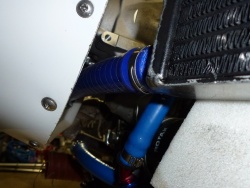
p1000472
p1000472.jpg
Date: 12/13/2011
Views: 24115
|
|
|
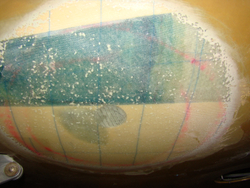
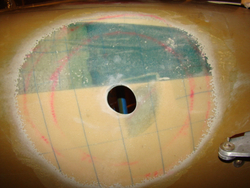
20160403_160502.jpg
20160403_160502.jpg
Date: 04/03/2016
Views: 23944
|
|
|
|
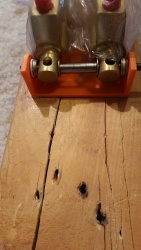
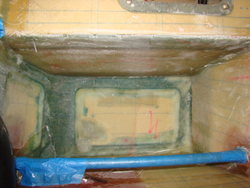
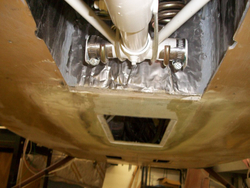
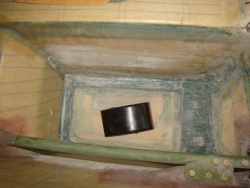
This is the printer part showing the parts in place.
This is the printer part showing the parts in place.
Date: 04/03/2016
Views: 23772
|
|
|
dsc08628
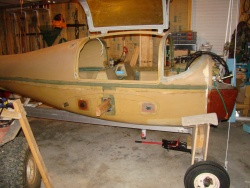
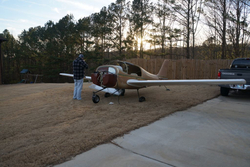
Nic pic of the plane! If Bill would move his head out of the way! Notice I'm using a bungee cord to hold the doors open.
Date: 04/14/2012
Views: 23678
|
|
|
|
dsc08640
OK not the best shot but here you can see I used the jack to move the rear rib in place under the airframe being careful not to pinch the belly. I then secured the rib in place but using some drywall screws in the 2x6. This way any weight will be transf
Date: 04/15/2012
Views: 23669
|
|
|
nex_2014_01_25_31
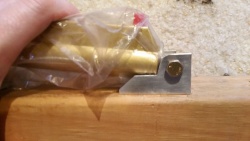
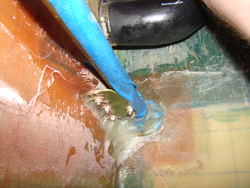
Starboard side, need to trim the bolt.
Date: 01/26/2014
Views: 23492
|
|
|
|
p1000471
p1000471.jpg
Date: 12/13/2011
Views: 23318
|
|
|
dsc08961
Stb side two layers bid 10" and 8" peel ply removed
Date: 10/01/2012
Views: 23161
|
|
|
|
dsc08960
Stb side after layups and peel ply removed.
Date: 10/01/2012
Views: 22384
|
|
|
dsc08629
In a few mins she will no longer be a monowheel :-(
Date: 04/14/2012
Views: 22268
|
|
|
|
dsc08602
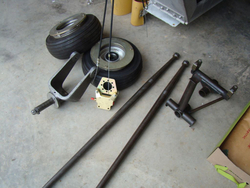
Landing gear parts. The nose gear leg is having MOD 53 performed on it at my fauther in-laws.
Date: 04/10/2012
Views: 22195
|
|
|
dsc08965
Port side after layups and peel ply removed. Notice shape of hole for the angle of the LG socket. I wrapped the LG socket with sandpaper and used it to form the hole.
Date: 10/01/2012
Views: 22040
|
|
|
|
E1
[quote="Bud Yerly"]"Make a glass cover that fits the hole out of three sheets of bid laid up on a flat surface. After cure, hold it up to the bottom of the plane and mark the contour. Cut and approximate the fit. It should be near level
Date: 10/05/2012
Views: 22010
|
|
|
nex_2014_01_25_17
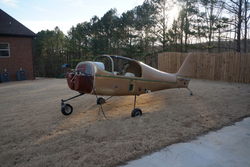
Rolled out on the grass. Notice the tail wheel is still there. I left it in due to not having the stacks of cash to hold the nose down.
Date: 01/26/2014
Views: 21987
|
|
|
|
dsc08962
Stb side. Need to do some clean up...
Date: 10/01/2012
Views: 21958
|
|
|
p1000470
p1000470.jpg
Date: 12/09/2011
Views: 21934
|
|
|
|
dsc08966
Port side LG socket hole.
Date: 10/01/2012
Views: 21901
|
|
|
2012-08-18_19-58-42_666
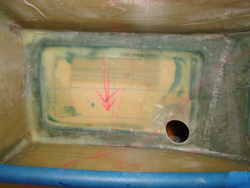
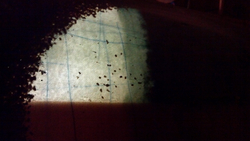
Port side. Same area as before just without the flash. Backlit from the inside to show areas with less material. This is before I did the belly layup per the manual.
Date: 08/19/2012
Views: 21762
|
|
|
|
dsc08607
Starting to prep the bays for the tri-gear conversion.
Date: 04/10/2012
Views: 21681
|
|
|
nex_2014_01_25_28
Wings on. Not really required at the stage. Just had to do it for motivation.
Date: 01/26/2014
Views: 21461
|
|