To make the front tire leveler:
1) I cut two pieces of 2 x 6s to 10" in length, then on the center line 1+ 1/4" in from the end-grain edges drilled a clearance hole on each end, then screwed the two pieces together using 3" long Sheetrock screws. To prevent the tip of the screw from coming out of the bottom you could put two washers under the head of the screws, file or grind off the tip if it does come through, use 2+1/2" long screws, use 1+1/2" or 2" long screws and counter sink the top 2 x6 a little to allow enough threads to grab and hold the two pieces of wood together.
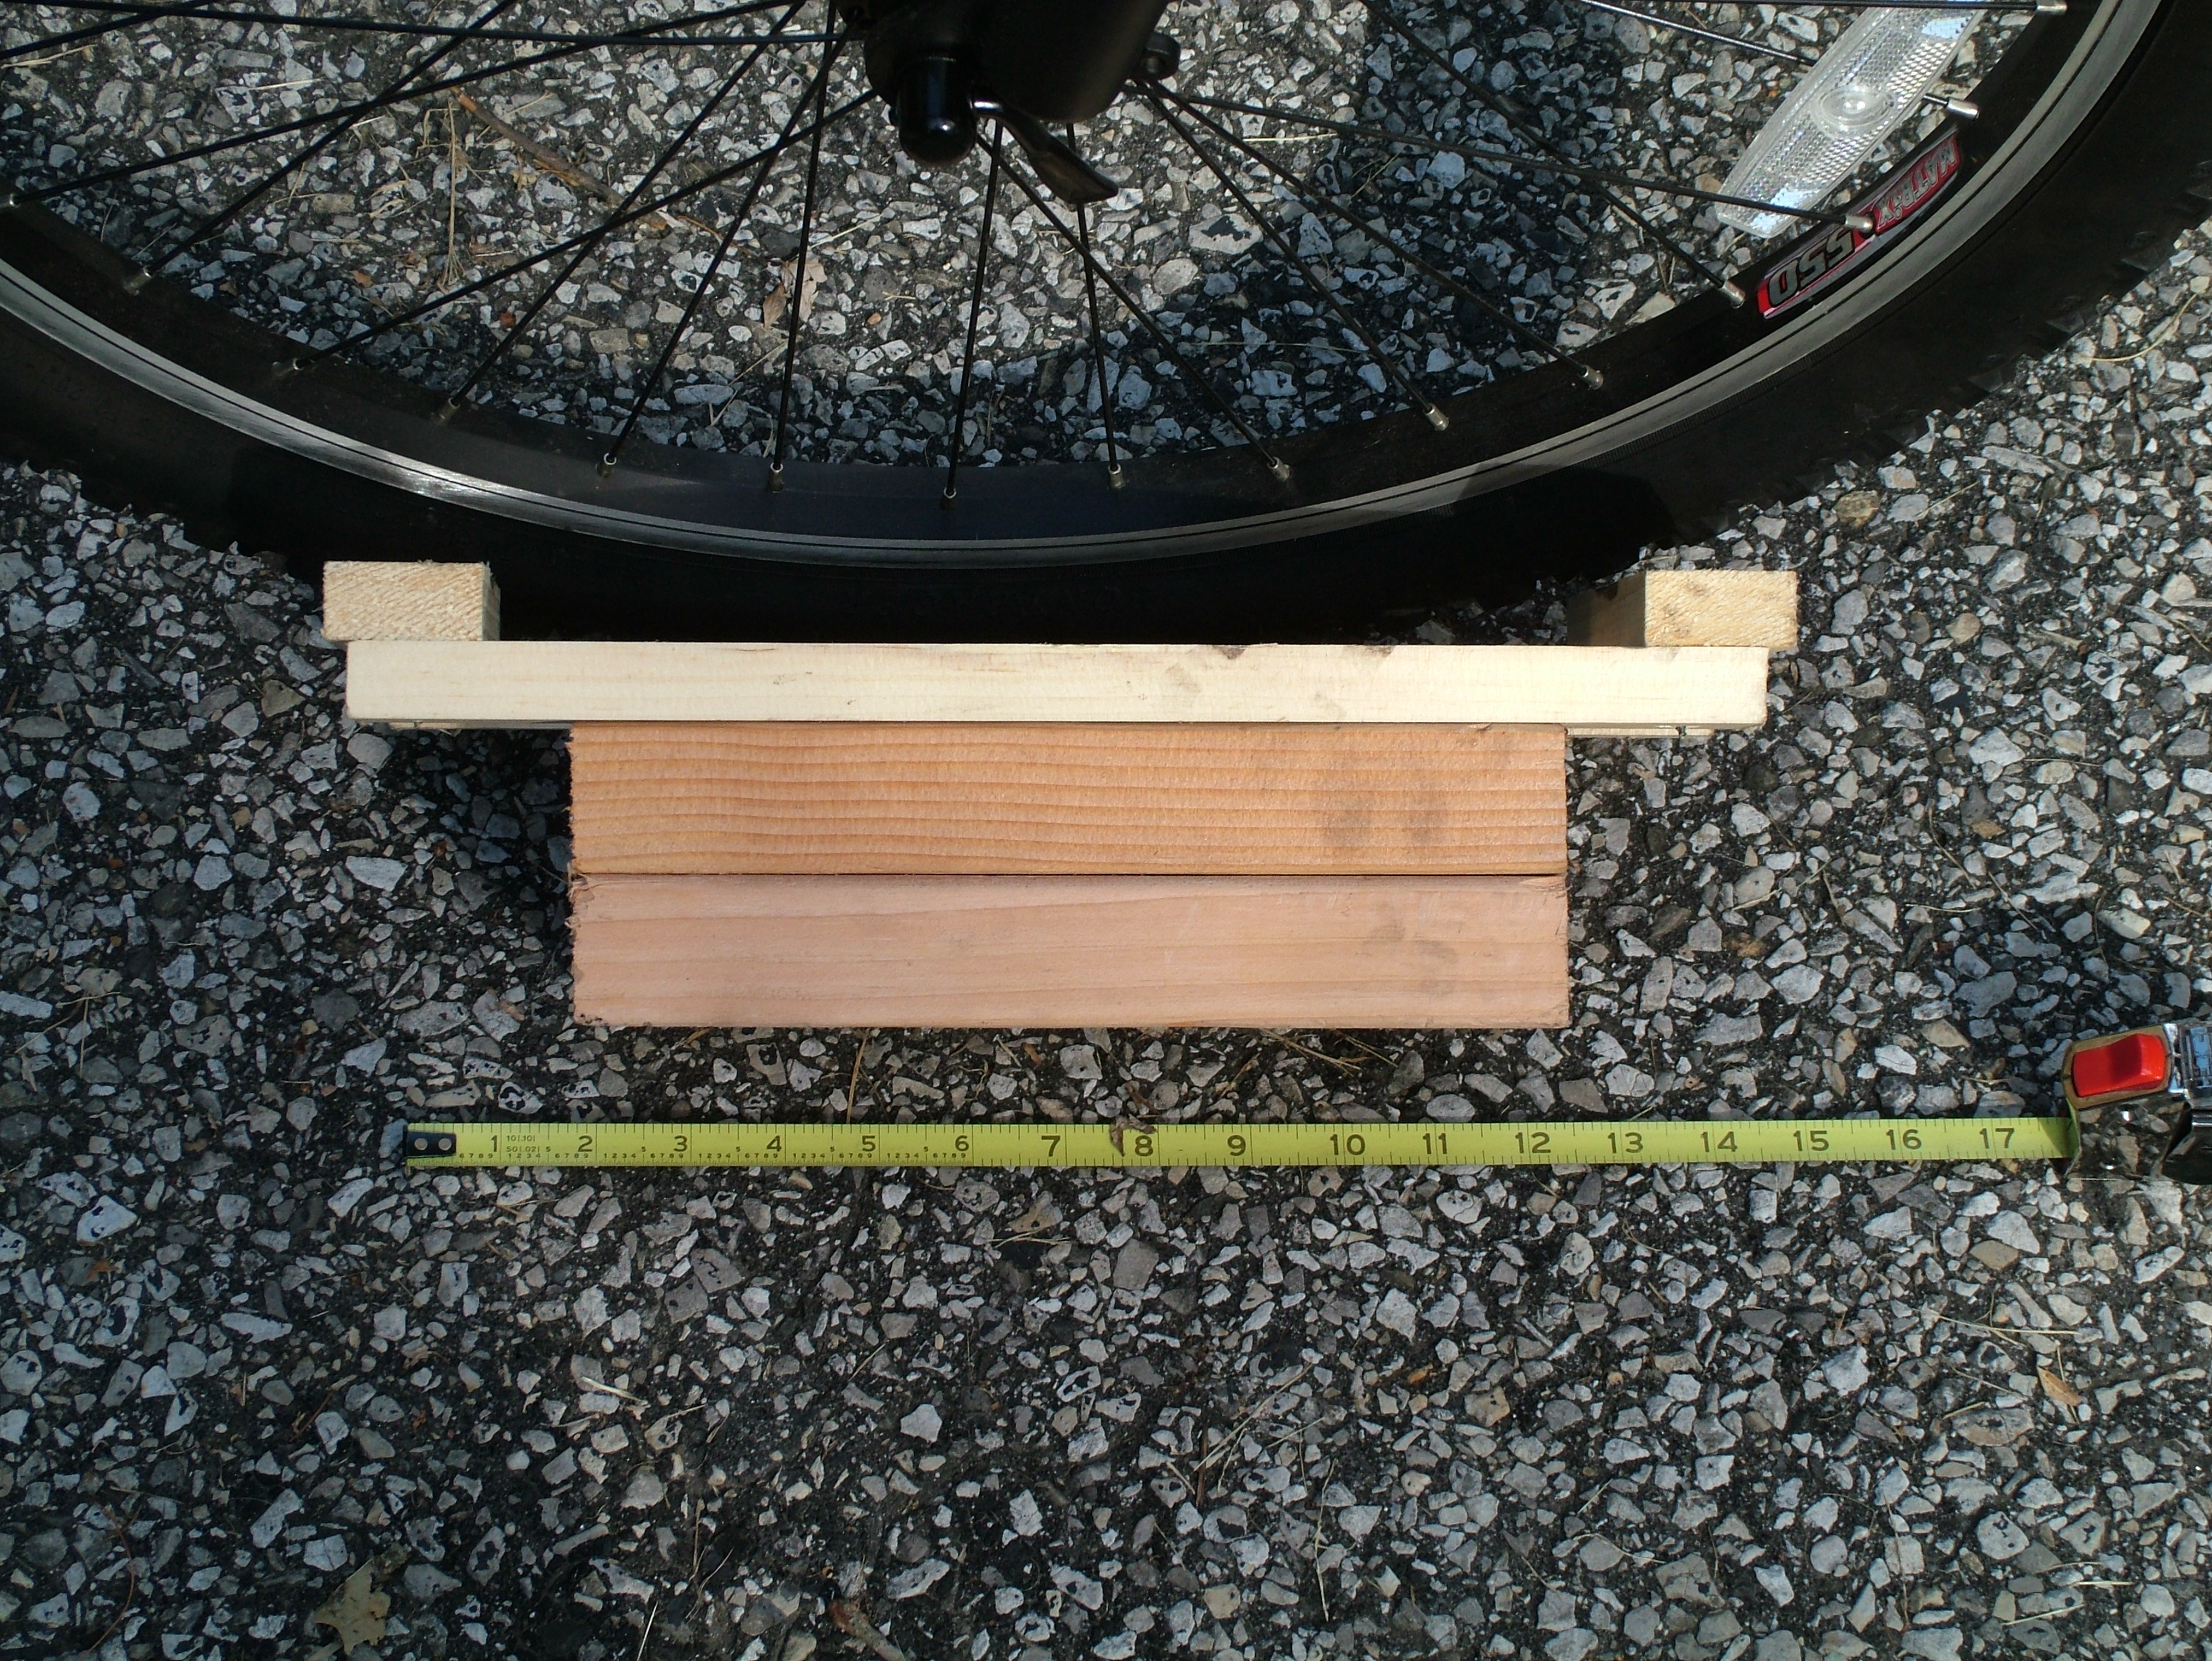
2) Cut two 1 x 2s long enough to allow two cross 1 x 2s to fully capture the front tire. For my 26" tired bike the length is ~ 14+3/4" long. Then position the now screwed together 2 x 6s under the front tire, Take your two longer 1 x 2s and drill a clearance hole through the center of each piece 1+ 1/4" in from the end-grain edge of the 2 x 6s, now position the two 1 x 2s tight up against the sides of the front tire of your bike and screw the 1 x 2s to the 2 x 6s with 1+ 1/2" or 2" long Sheetrock screws. Snug is OK, but you don't want it too tight where you can't hardly get the front tire into position.
Oh BTW now would be a good time to fill your tires with air. I would fill the back and front tire to the maximum pressure written on the sidewalls. Do this before making the front tire leveler.
If you don't plan on using your generator as a bike, you could probably fill the rear tire to 5 PSI over the maximum and get a slight bit less friction when generating electricity. Since you won't be putting the approximately half of your weight on the rear tire, no more stress should be exerted on the tire with 5 more PSI over maximum than if you were to take a ride at maximum pressure.
3) Once you are happy with the height and side guide positioning, cut two cross 1 x 2 guides, drill two clearance holes on each 1 x 2 cross member located in the middle of the top 1 x 2 and the middle of the bottom 1 x 2 and screw together using 1+ 1/2" Sheetrock screws. Again you could put a washer or two under the head of the screw so the sharp tip doesn't stick out of the bottom, let it stick out and grind or file it off, use 1+ 1/4" long screws or cut the 2 x 6s to the same length as the side guides (if you can tolerate a heavier to carry around front leveler) and use the 1+1/2" screws.


